How to Install a Drawing Tablet Properly
Driver installation, app integration, and calibration guide for getting a drawing tablet working from first plug-in. This guide walks through the topic in plain language so a non-specialist owner can take action with confidence. By the end you will know what is involved, what to watch out for, and how to avoid the most common mistakes that turn a small task into a big problem.
Why This Topic Is Worth Understanding
A clean installation pays dividends for the life of the device. Skipping setup steps to "save time" is the most common cause of intermittent problems weeks later — problems that are hard to trace back to the original installation when they finally surface.
How It Actually Works
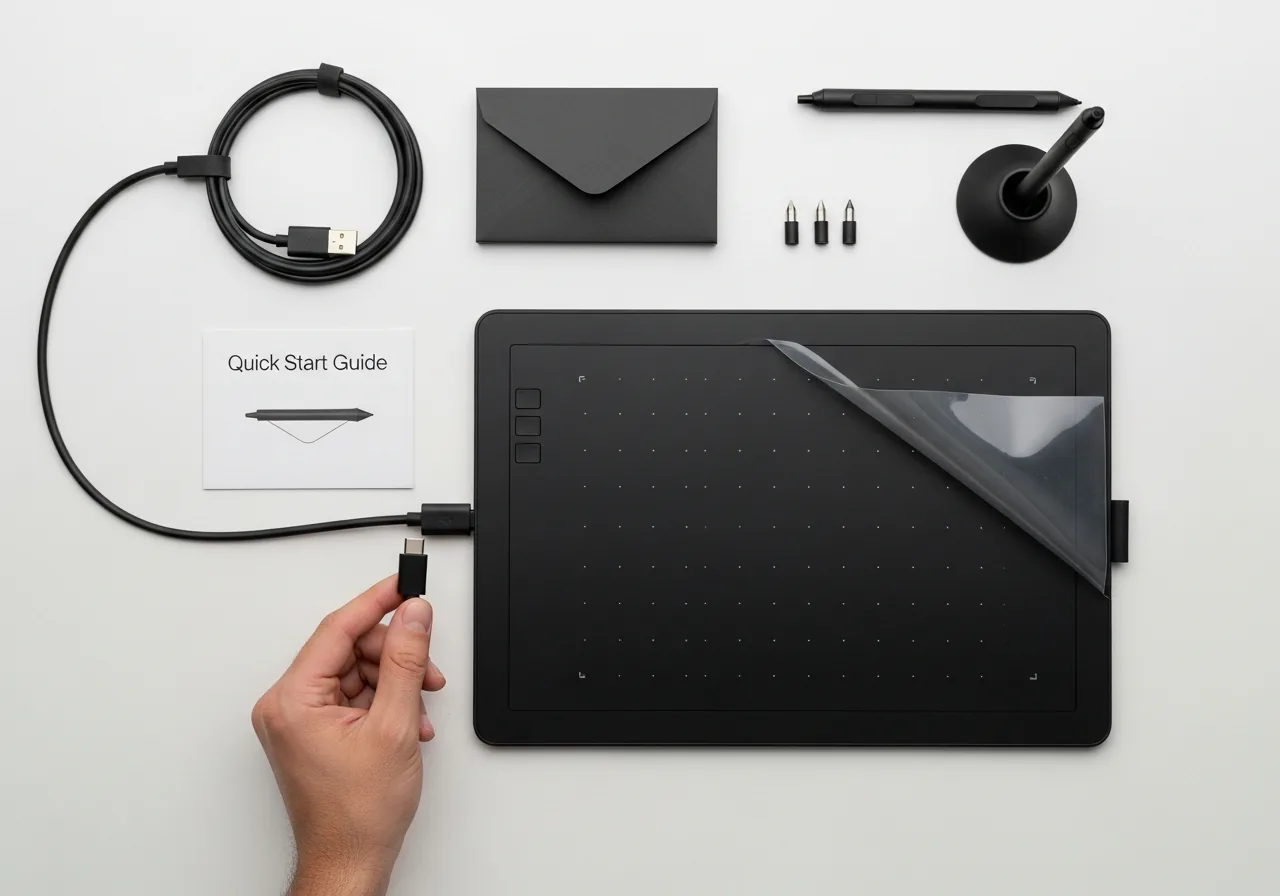
Walk through the installation in order, do not skip steps that seem obvious, and verify each stage works before moving to the next. The total time investment is small compared with troubleshooting a partially-installed system later.

The Key Things to Get Right
- Always verify your specific model before assuming this guide applies — minor revisions can change the procedure significantly.
- Take photos as you work, especially before disconnecting any cables, so reassembly is straightforward.
- Use the correct tool for each step — improvising with the wrong screwdriver or pry tool is the most common cause of damage.
- Work on a clean, well-lit, static-safe surface; loose components on carpet are the leading cause of lost screws and accidental damage.
- Set aside more time than you think you will need, especially the first time — the procedure is rarely the hard part, but problems take time to diagnose.

Common Mistakes to Avoid
The patterns that cause repeated problems with drawing tablets are surprisingly consistent across owners and brands. The biggest single mistake is skipping the documentation specific to your model in favour of generic advice — small variations in design can completely change the right approach. The second biggest is rushing: the procedure is rarely difficult, but it punishes haste. The third is using the wrong cleaning agent, lubricant, or replacement part because it was easier to find than the correct one; this saves an hour today and creates a much harder problem next month.

Practical Tips You Can Apply Today
- Read the entire procedure before starting — it is much easier to spot a step that needs preparation if you have already seen the whole flow.
- Keep a small container nearby for screws and small parts; lose one and the reassembly becomes far harder than it needs to be.
- When in doubt, stop and check rather than force anything; modern devices are surprisingly delicate behind the cosmetic shell.
- If your device is still under warranty, weigh the cost of a DIY fix against losing that warranty — sometimes the right call is to hand it to the manufacturer.
- Save the manual or service guide locally before you start; relying on a phone with a cracked screen for instructions while working on it is a frustration you do not need.
- Test each fix or change in isolation, not as part of a batch — otherwise you will not know which change actually solved the problem.
Frequently Asked Questions
Is it safe to handle install a drawing tablet properly myself?
For most owners, yes — the procedure is well within reach with the right tools and a careful approach. The main caveats are warranty status (some warranties are voided by self-service) and any safety considerations specific to the device, such as battery handling, mains power, or pressurised refrigerant. When in doubt, the cost of a professional consult is small compared with the cost of an irreversible mistake.
How long should this take the first time?
Plan for at least double the time of an experienced technician, so you are not rushed. The actual hands-on work is usually short; the time gets spent on careful identification of components, taking photos for reassembly, and verifying each change before moving on. Once you have done it once on a device, the second time is dramatically faster.
What is the most common mistake to avoid?
Force. Modern devices use clips, adhesives, and tolerances that look like they should give way to a firm hand but will actually crack, tear, or warp instead. If a step requires more pressure than feels right, stop and re-check the orientation, the tool, and whether you have missed an earlier step that releases what you are now trying to move.
When should I take this to a professional instead?
If the device is under warranty, if the procedure requires equipment you do not have access to, if there is a safety concern you are unsure about, or if a previous attempt did not resolve the problem. A reputable repair shop will diagnose the issue at low cost and tell you honestly whether a DIY fix is realistic or whether the device is truly at end of life.
Related Articles & Categories
Apply this knowledge to your Drawing Tablets page, or explore the related guides below.