How to Clean PC Fans Safely Without Damage
Dust is a computer's quiet enemy. Over months and years, dust builds up on fan blades, heatsinks, and filters — reducing airflow, raising temperatures, and causing your computer to run slower, louder, and hotter than it should. Cleaning PC fans is one of the most impactful maintenance tasks you can do, and it's genuinely straightforward if you know the right techniques. This guide walks you through how to safely clean PC fans in both desktop towers and laptops without damaging bearings, causing static discharge, or leaving your machine worse than you found it.
Why Fan Cleaning Matters
A fan clogged with dust moves less air despite spinning at the same speed. Less airflow over the heatsink means higher temperatures. Higher temperatures trigger thermal throttling, where the CPU or GPU reduces its clock speed to stay safe — and you experience this as stuttering, slowdowns, or unexpected shutdowns. For gaming PCs and thin laptops especially, regular fan cleaning can fully restore performance that gradually degraded over months without any hardware changes or software updates needed. A desktop that used to run at 65°C under load and now hits 85°C almost certainly needs cleaning rather than a hardware upgrade.
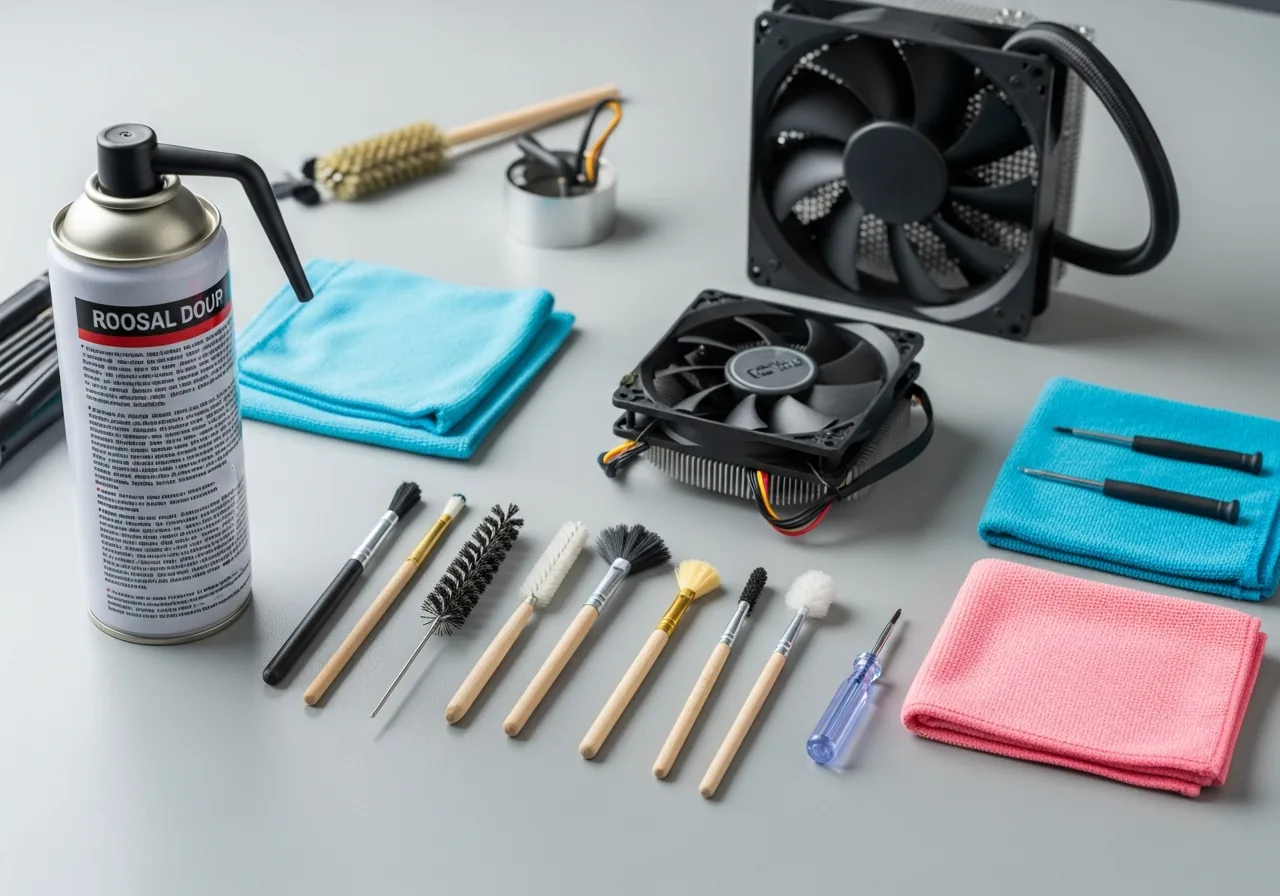
What You'll Need
- Compressed air can (PC Duster, Falcon Dust-Off, or equivalent)
- Soft anti-static brush (or a new, never-used paintbrush)
- Screwdriver (Phillips PH1 for most desktop panels; PH0 for many laptops)
- Anti-static wrist strap (optional but recommended)
- Microfibre cloth
- Work in a well-ventilated area or outdoors
Step-by-Step Solution
Total time: 20–40 minutes for a desktop, 30–60 minutes for a laptop (requires panel removal). Difficulty: easy (desktop) to moderate (laptop).
-
Step 1: Power off and unplug completely
Shut down fully — not sleep or hibernate. For desktops: switch off the PSU (the switch on the back of the power supply) and unplug the mains cable. For laptops: shut down and unplug the charger. Wait 30 seconds after unplugging before opening anything. This allows capacitors to discharge and removes any risk of electrical shock or component damage from live components during cleaning.
-
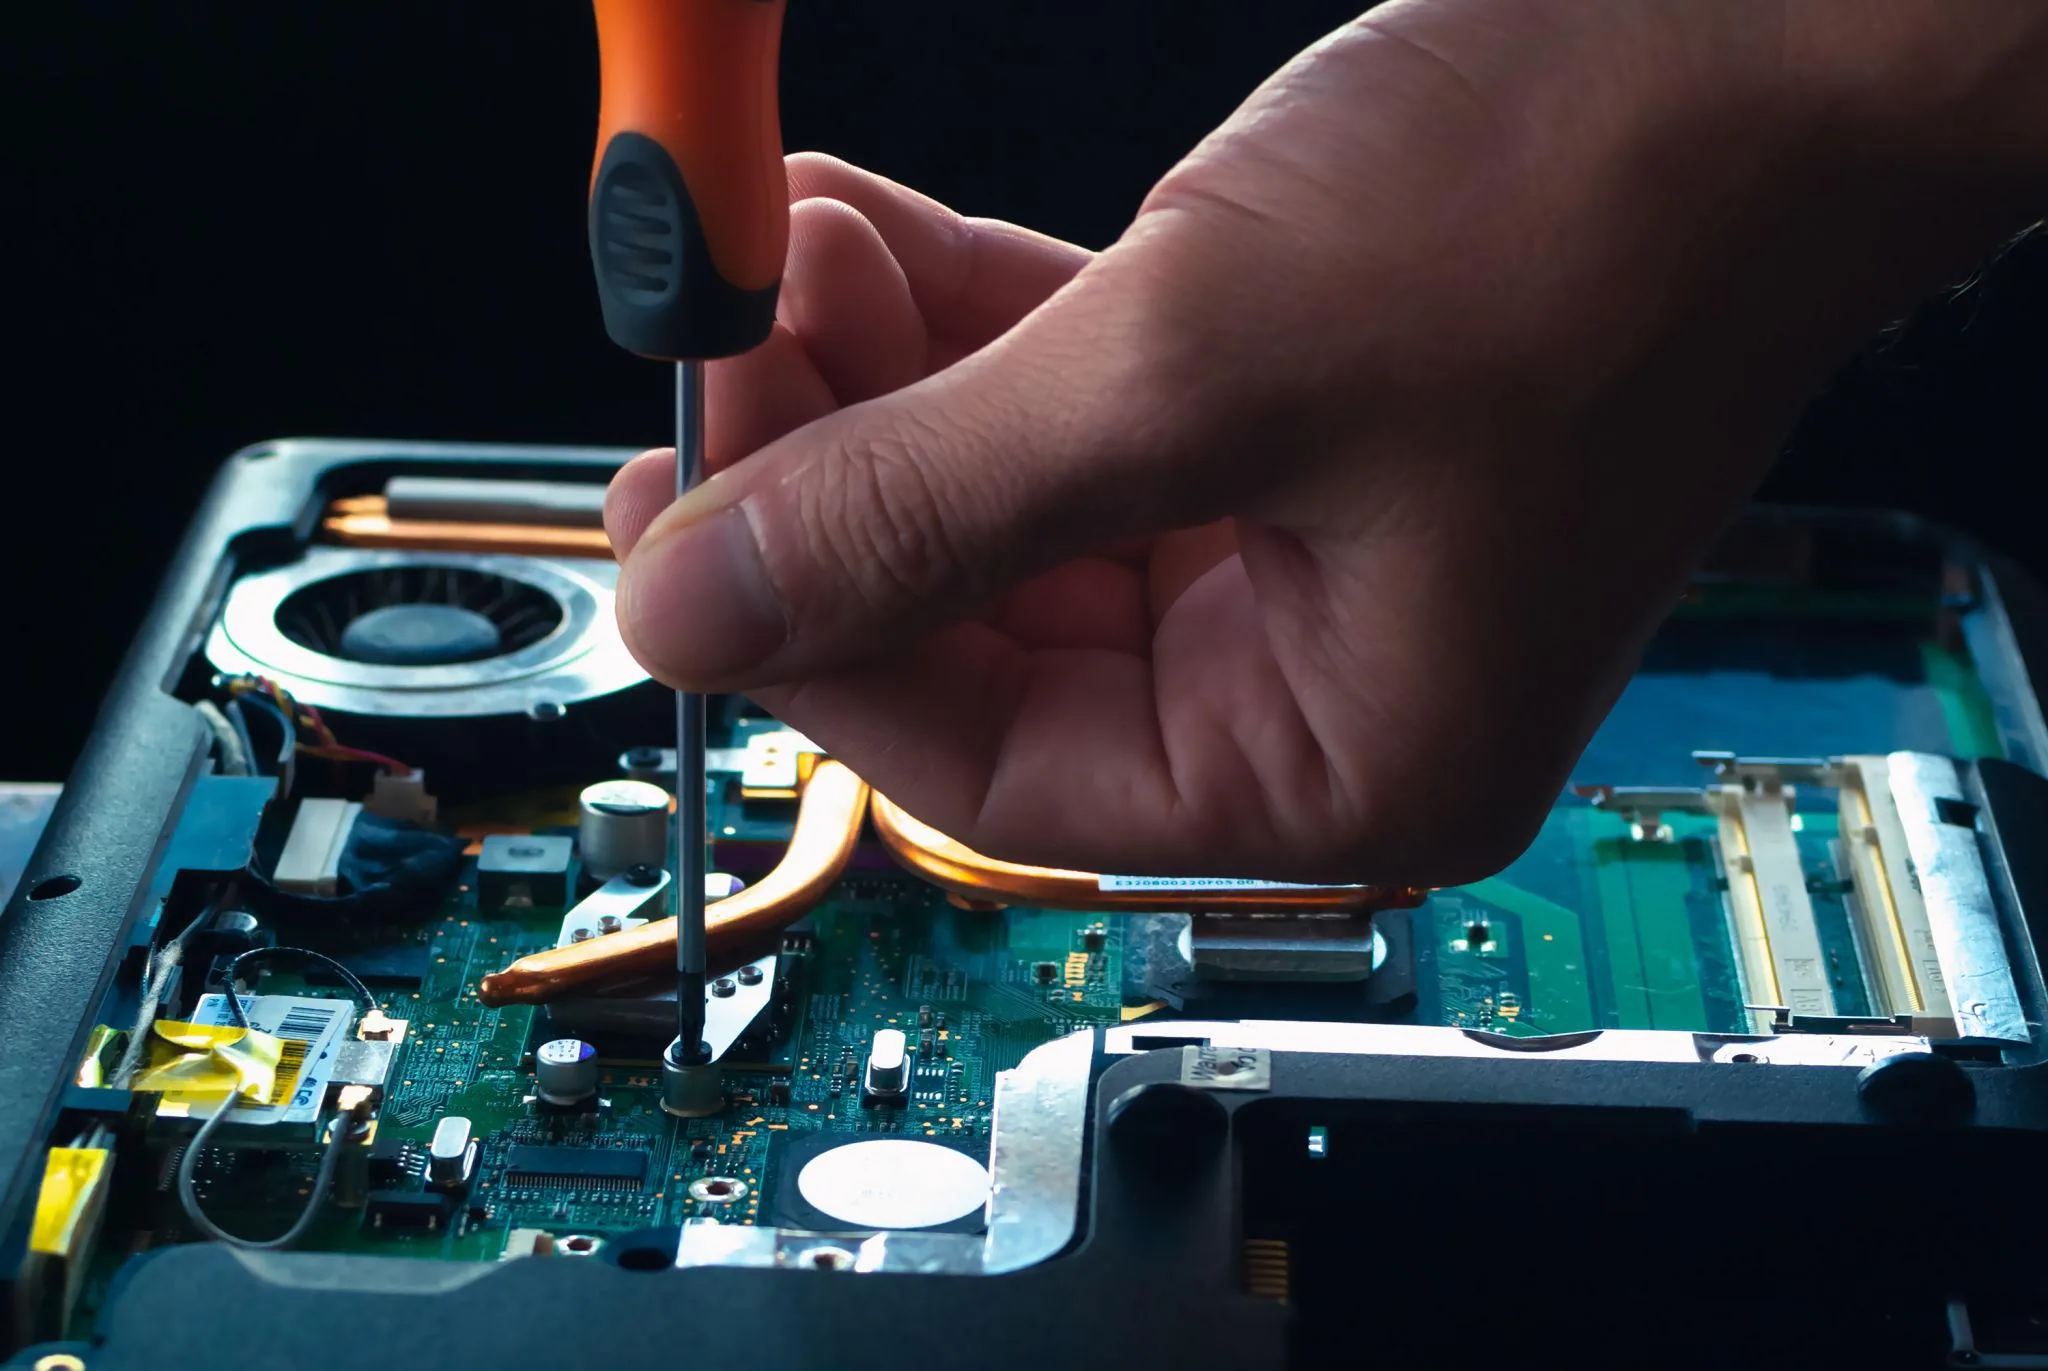
Step 2: Open the case (desktop) or remove the bottom panel (laptop)
Desktop: remove the left side panel (usually 2 thumbscrews at the rear). Most modern ATX cases have tool-free side panels. Laptop: remove the bottom panel screws using the appropriate Phillips screwdriver — see your model's iFixit guide for exact screw locations. Take your laptop outside or to a well-ventilated area before cleaning — you'll be displacing significant dust.
-
Step 3: Hold fans still before blowing
This is the most critical safety step most guides miss: before using compressed air on any fan, hold the fan blades still with your finger or insert a pen through the grille to prevent the fan from spinning. Compressed air can spin fans at thousands of RPM — far beyond their design rating — which can damage bearings and generate a harmful voltage spike through the fan motor. Always hold the fan stationary during compressed air cleaning.
-
Hold each fan blade still while blowing air through it — letting fans spin under compressed air can over-rev the bearing and damage it. Step 4: Use compressed air in short bursts at an angle
Hold the compressed air can at a 45-degree angle (tilting prevents liquid propellant from spraying out). Use short 1–2 second bursts rather than long continuous blasts. Work from the inside of the case outward — blow dust toward the vents, not deeper into the machine. Hold the can at least 8–10 cm from components. Clean each fan from both sides if accessible: blow through the blade side, then through the hub side.
-
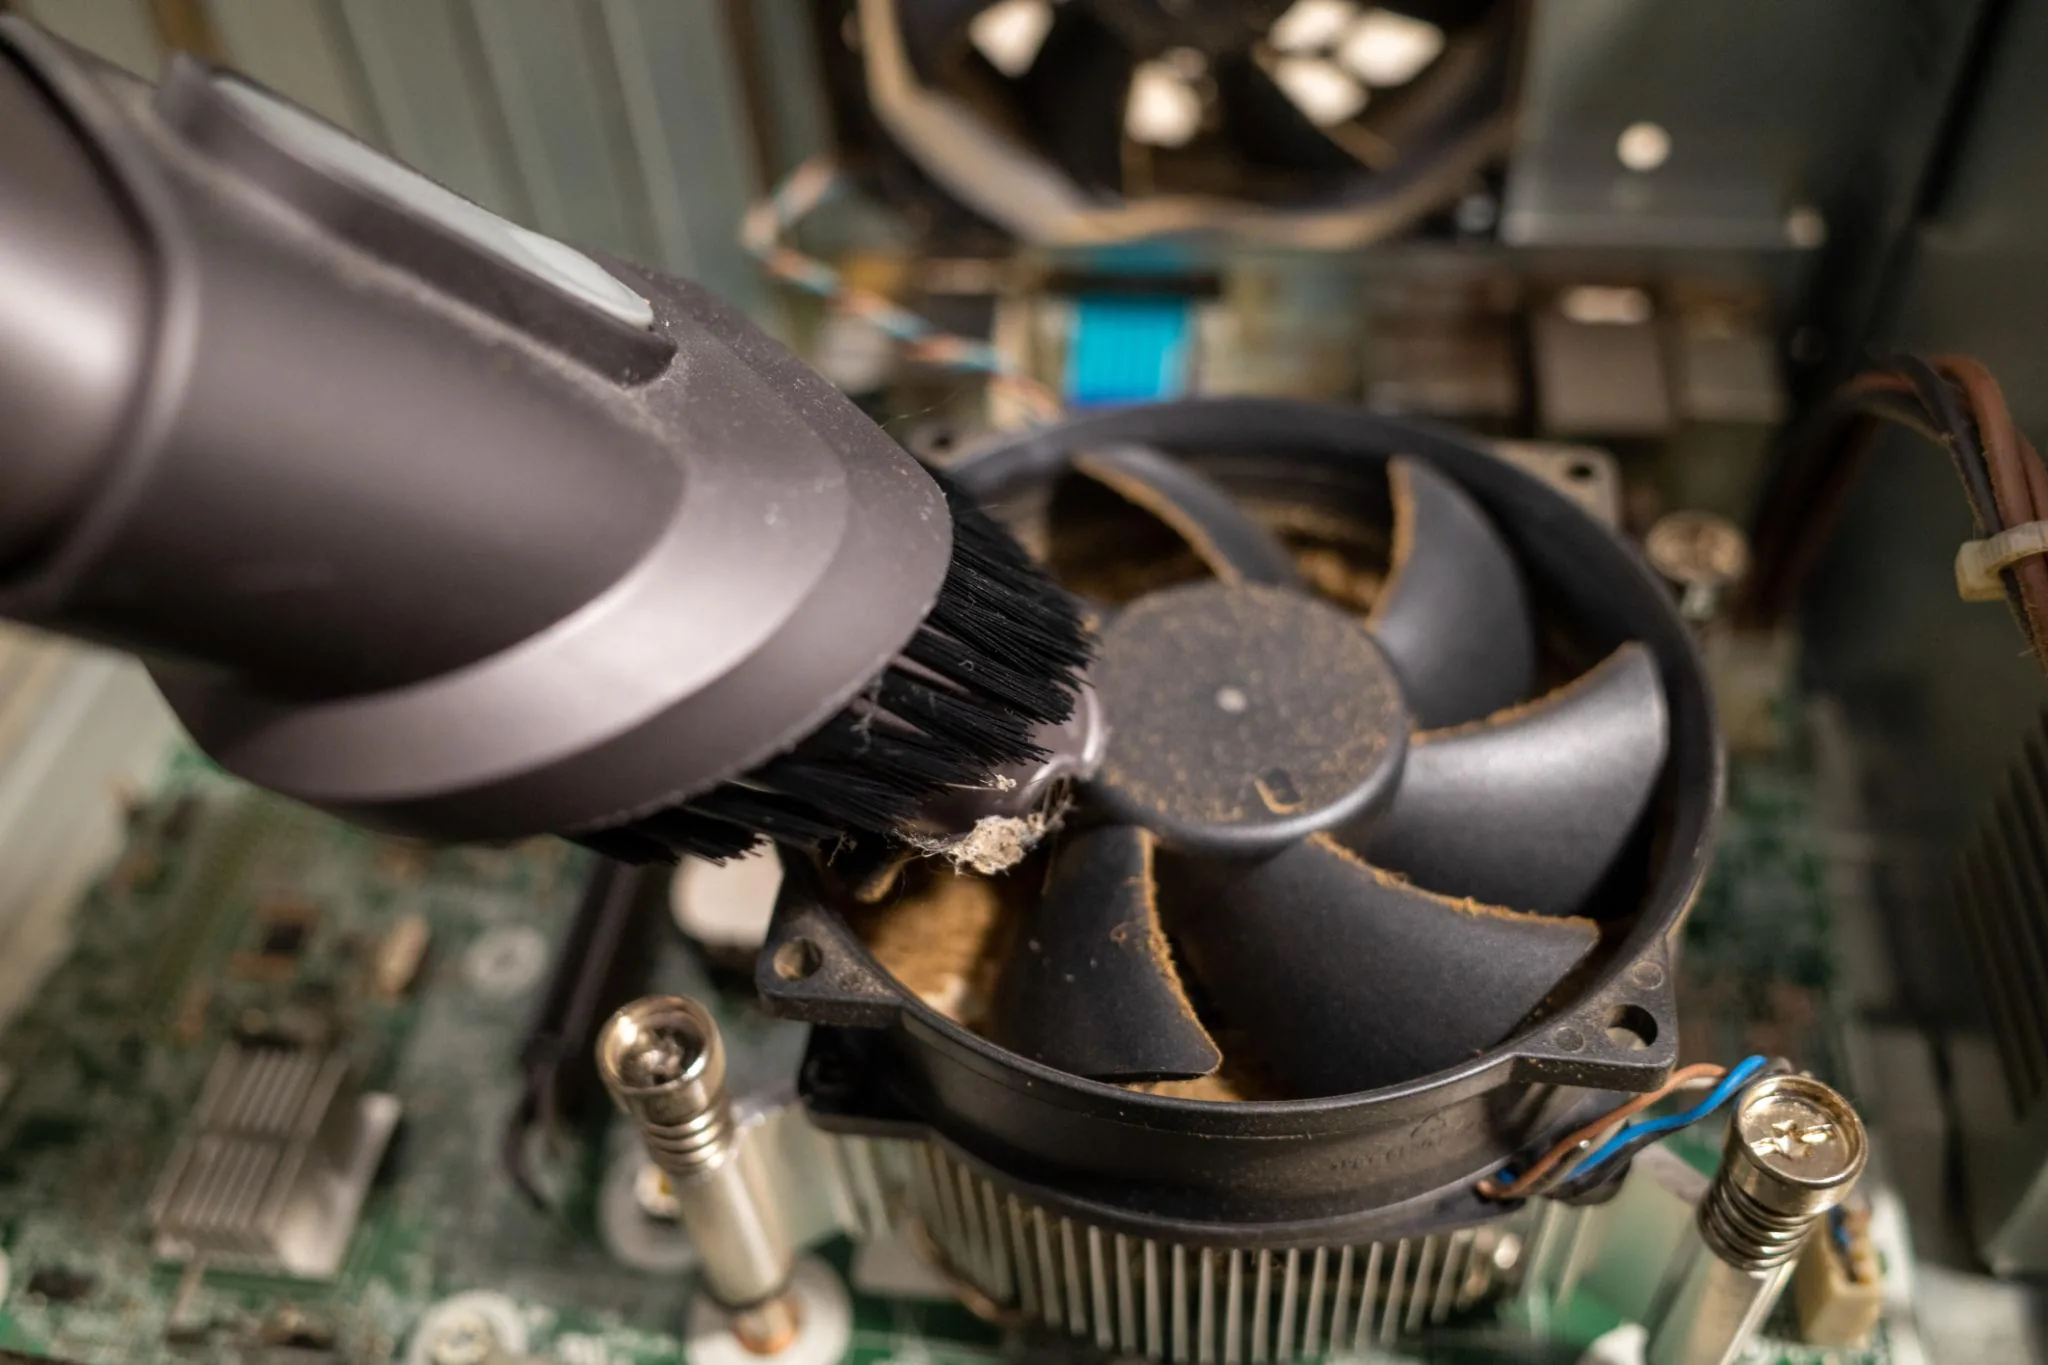
Step 5: Brush heatsinks and filters
Use the soft anti-static brush to sweep accumulated dust from CPU and GPU heatsink fins — compressed air alone often doesn't dislodge packed dust from heatsink channels. For desktop intake fans with removable foam/mesh filters, remove them and wash them in lukewarm water, then dry completely before reinstalling. For laptop heatsink exhaust vents, brush from the inside outward.
-
Step 6: Wipe fan blades with a microfibre cloth
After compressed air and brushing, individual fan blades often still have a ring of packed grey dust at the outer edge. Wipe each accessible blade with a dry microfibre cloth, rotating the fan by hand to access all blades. For CPU cooler fans and case fans, you can typically remove them from their mounting bracket (2–4 screws) for a thorough clean, then reinstall.
-
Step 7: Reassemble and verify temperatures
Reassemble the case or bottom panel, reconnect power, and boot up. After 10 minutes of use, check temperatures using HWMonitor (free, Windows) or iStat Menus (Mac). Compare to the temperatures you noted before cleaning. A properly cleaned system typically sees a reduction of 10–20°C under load, along with significantly reduced fan noise at idle and moderate use.
Prevention Tips
- Clean your desktop PC every 6 months if you have pets or carpeted floors; every 12 months in a relatively dust-free environment — regular short cleans prevent the thick packed buildup that requires aggressive cleaning to remove.
- Keep desktop cases off the floor when possible — floor-level intake draws significantly more dust and pet hair than a desk-height position.
- For gaming PCs with RGB fans and glass panels, check fan filter cleanliness monthly — these systems typically run hotter and dirtier than standard desktops.
- Consider positive pressure airflow in desktop builds (more intake fans than exhaust) — this reduces dust ingress through unfiltered panel gaps compared to negative-pressure or balanced builds.
Frequently Asked Questions
Can I use a vacuum cleaner to clean PC fans?
You should never use a standard household vacuum cleaner inside a PC. Vacuum cleaners generate significant static electricity, which can permanently damage sensitive components like the CPU, GPU, or RAM. They also create suction that can dislodge or strain cable connections. Compressed air is the correct tool. If you want a vacuum-based option, use a specialised anti-static computer vacuum like those made by Metro Vacuum — these are designed for electronics and have anti-static protection built in.
Why shouldn't I let compressed air spin the fans?
When compressed air spins a fan at high speed, two problems occur: first, the fan motor acts as a generator and produces voltage that can feed back into the motherboard through the fan header, potentially damaging the motor control circuit. Second, fans are rated for specific maximum RPMs — typically 1,200–2,800 RPM for case fans. Compressed air can spin them at 10,000+ RPM, which stresses and can damage the bearings. Holding the fan stationary takes two seconds and prevents both problems.
How often should I clean my laptop fans?
For most laptop users: every 12 months is a good baseline. Heavy users or those in dusty environments should clean every 6–8 months. Signs your laptop needs cleaning: the fan runs continuously and loudly even when doing light tasks, the machine is slower than it used to be, or you notice performance drops during gaming or video rendering. Laptop heatsinks are small and clog faster than desktop systems, making this maintenance even more impactful for laptops.
My PC runs hot even after cleaning the fans — what's next?
If temperatures remain high after a thorough clean, the next step is checking and replacing the CPU thermal paste. Thermal paste between the CPU die and heatsink dries out and cracks over 3–5 years, significantly reducing heat transfer. Replacing thermal paste (Arctic MX-4 or MX-6 are reliable choices) typically drops CPU temperatures by 5–15°C. For laptops, this is a more involved repair that requires full heatsink removal — refer to your model's iFixit guide for specific instructions.
Is it safe to clean fans while the PC is running?
You should never clean fans while the PC is powered on. Compressed air can deposit liquid propellant on live components, and loose particles displaced during cleaning can short circuit powered components. Always fully power off and unplug before cleaning. The only exception is using a soft brush very gently on an external mesh filter without opening the case — but even then, powering off first is the safer approach.
Related Articles & Categories
Continue learning about Desktop PCs in Computers & Storage, or explore related repairs and learning guides below.