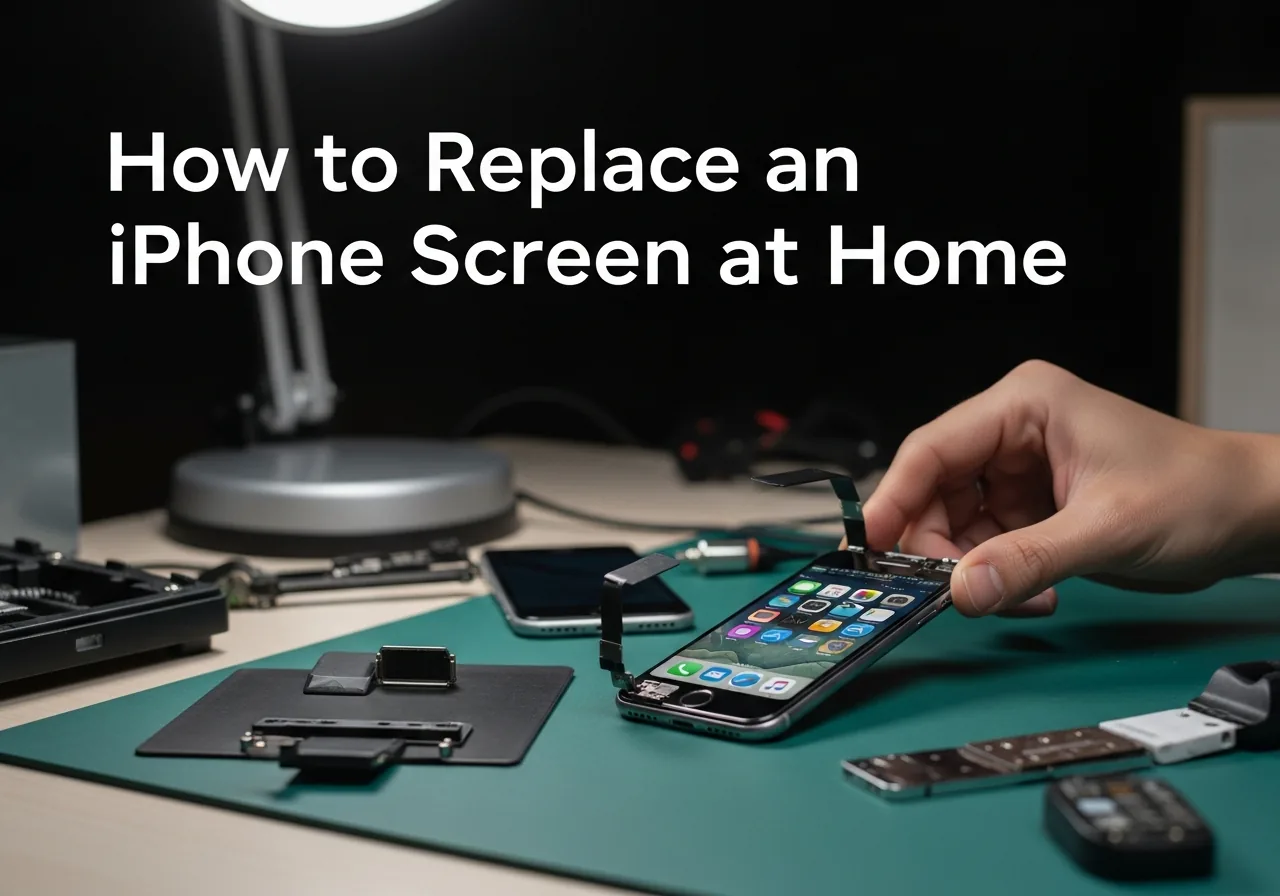
How to Replace an iPhone Screen at Home
A cracked iPhone screen is one of the most common — and most dreaded — smartphone mishaps. The good news is that replacing an iPhone screen at home is achievable for anyone who's careful and patient. Apple's Self Repair program now provides access to genuine parts and specialised tools for many iPhone models, and third-party repair options give you additional flexibility. This step-by-step guide covers the complete process: sourcing the right screen, the tools you need, the disassembly and reassembly procedure, and the critical Face ID cautions that apply to Face ID-equipped phones.
Before You Start: Critical Notes
iPhone screen replacement has one major caution: on iPhone X and all later models, Face ID functionality is tied to a Face ID sensor module that must be transferred from the original display. Replacing the screen with an aftermarket panel that doesn't include the sensor, or damaging the sensor flex cable during disassembly, will permanently break Face ID. OEM Apple screens preserve Face ID fully. High-quality aftermarket screens generally preserve Face ID if you transfer the original sensor module. Low-quality aftermarket screens may break True Tone colour calibration and Face ID permanently. Read the sourcing section carefully before ordering a replacement screen.
What You'll Need
- Replacement iPhone screen (see sourcing guidance below)
- Pentalobe P2 screwdriver (for the two bottom screws)
- Phillips PH00 screwdriver (for internal bracket screws)
- Suction cup (for lifting the screen)
- Plastic spudger and opening picks
- Tweezers (fine-tip)
- iFixit iOpener or heat gun (for adhesive softening)
- Adhesive strips for resealing (usually included with replacement screens)
Step-by-Step Solution
Estimated time: 45–90 minutes for first-time repair. Difficulty: moderate. This guide covers the process for iPhones from iPhone 12 onwards. Earlier models follow a similar process with minor variations.
-
Step 1: Source the correct replacement screen
Match your iPhone model number (found in Settings → General → About → Model Number, or on the back of the phone) to the correct screen part. Options: (1) Apple Self Repair Program — genuine OEM screens, most expensive, fully preserves all features. (2) iFixit — curated aftermarket screens, good quality, honest about feature trade-offs. (3) Vendor-specific OLED screens — look for "OEM-grade OLED" or "Incell" listings from established sellers. Avoid LCD replacements for iPhone 12 and later — they should be OLED.
-
Step 2: Disable Face ID and back up your data
Go to Settings → Face ID & Passcode and turn off Face ID. This prevents the system from locking you out if Face ID calibration data is affected. Then back up your phone to iCloud (Settings → your name → iCloud → iCloud Backup → Back Up Now) or to your computer via Finder/iTunes. Power off the phone completely before beginning the physical repair.
-
Step 3: Remove the two bottom Pentalobe screws
Using the Pentalobe P2 screwdriver, remove the two small screws at the very bottom of the iPhone, one on each side of the Lightning or USB-C port. These are 3.1mm screws on most modern iPhones. Set them aside carefully — they're tiny and easy to lose. These are the only external screws on the iPhone; all other screws are internal.
-
Step 4: Soften the adhesive and open the display
Apply the iOpener (heated in microwave per instructions) or use a heat gun on its lowest setting for 30–45 seconds along the edges of the display. The iPhone display is held by a strong adhesive perimeter — heat softens this significantly. Place the suction cup above the Home Button area (or bottom of the display on Face ID models) and pull gently upward while sliding a plastic pick into the small gap that opens at the bottom edge. Work the pick around the bottom and sides — never insert anything near the top right corner where the Face ID sensor cables route.
-

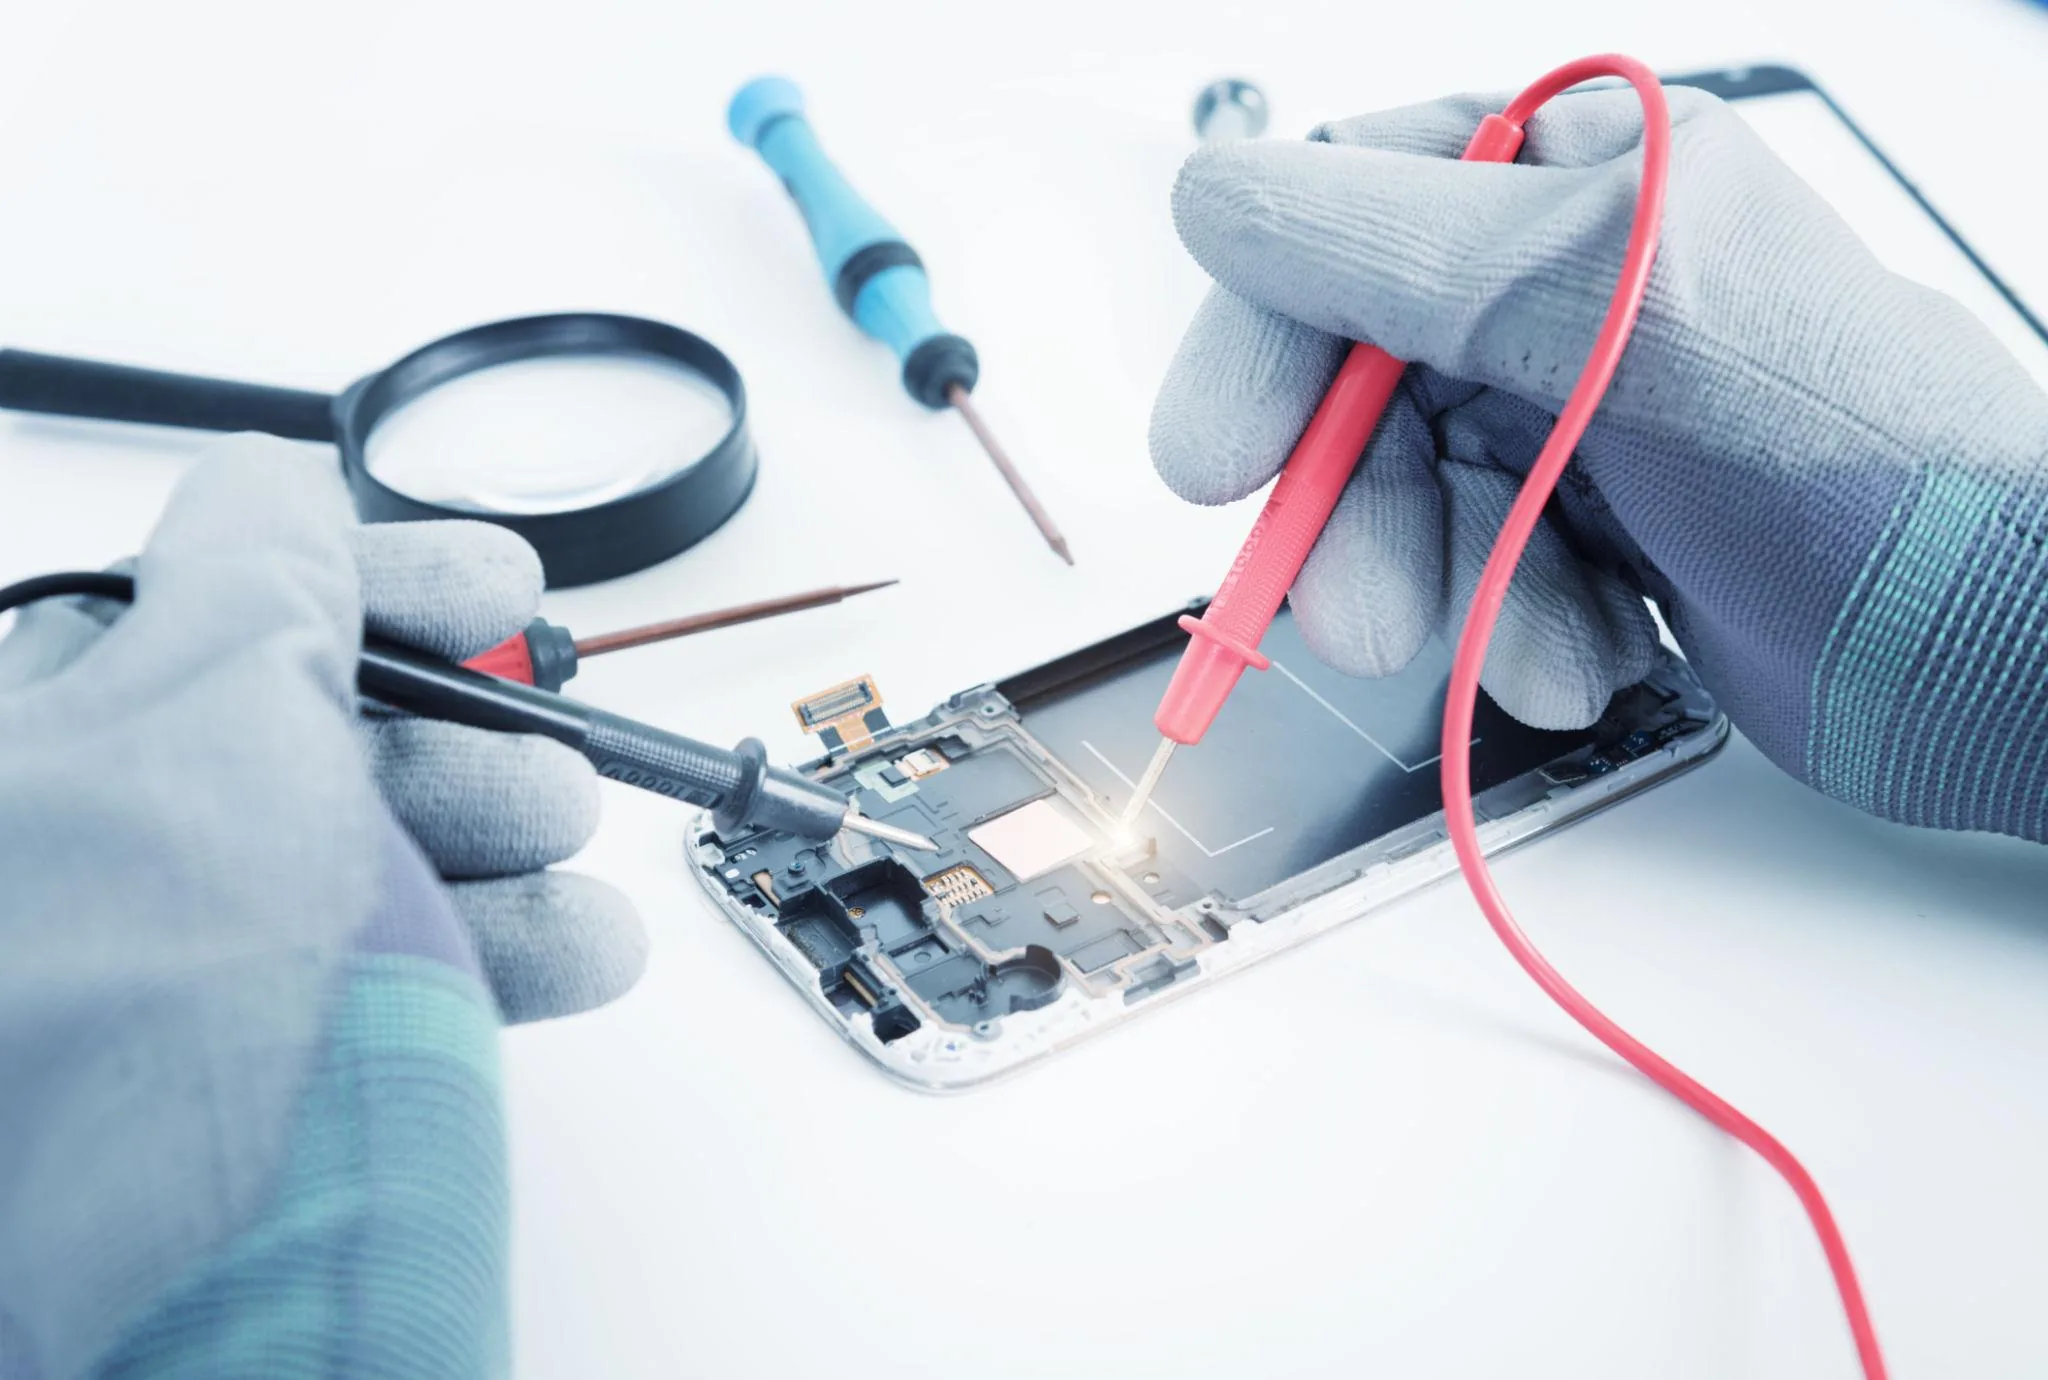
Disconnect the battery flex first — an Apple device with a live battery and an exposed logic board is one slip away from a bricked phone. Step 5: Disconnect the battery first
With the display open and propped at about 90 degrees (don't open further — cables are still attached at the top), remove the rectangular bracket over the battery connector (usually 2–3 Phillips PH00 screws). Disconnect the battery connector by sliding your spudger under it and gently prying it straight up. This is the single most important safety step in iPhone repair — working on the phone with the battery connected risks short-circuits that can damage the motherboard.
-
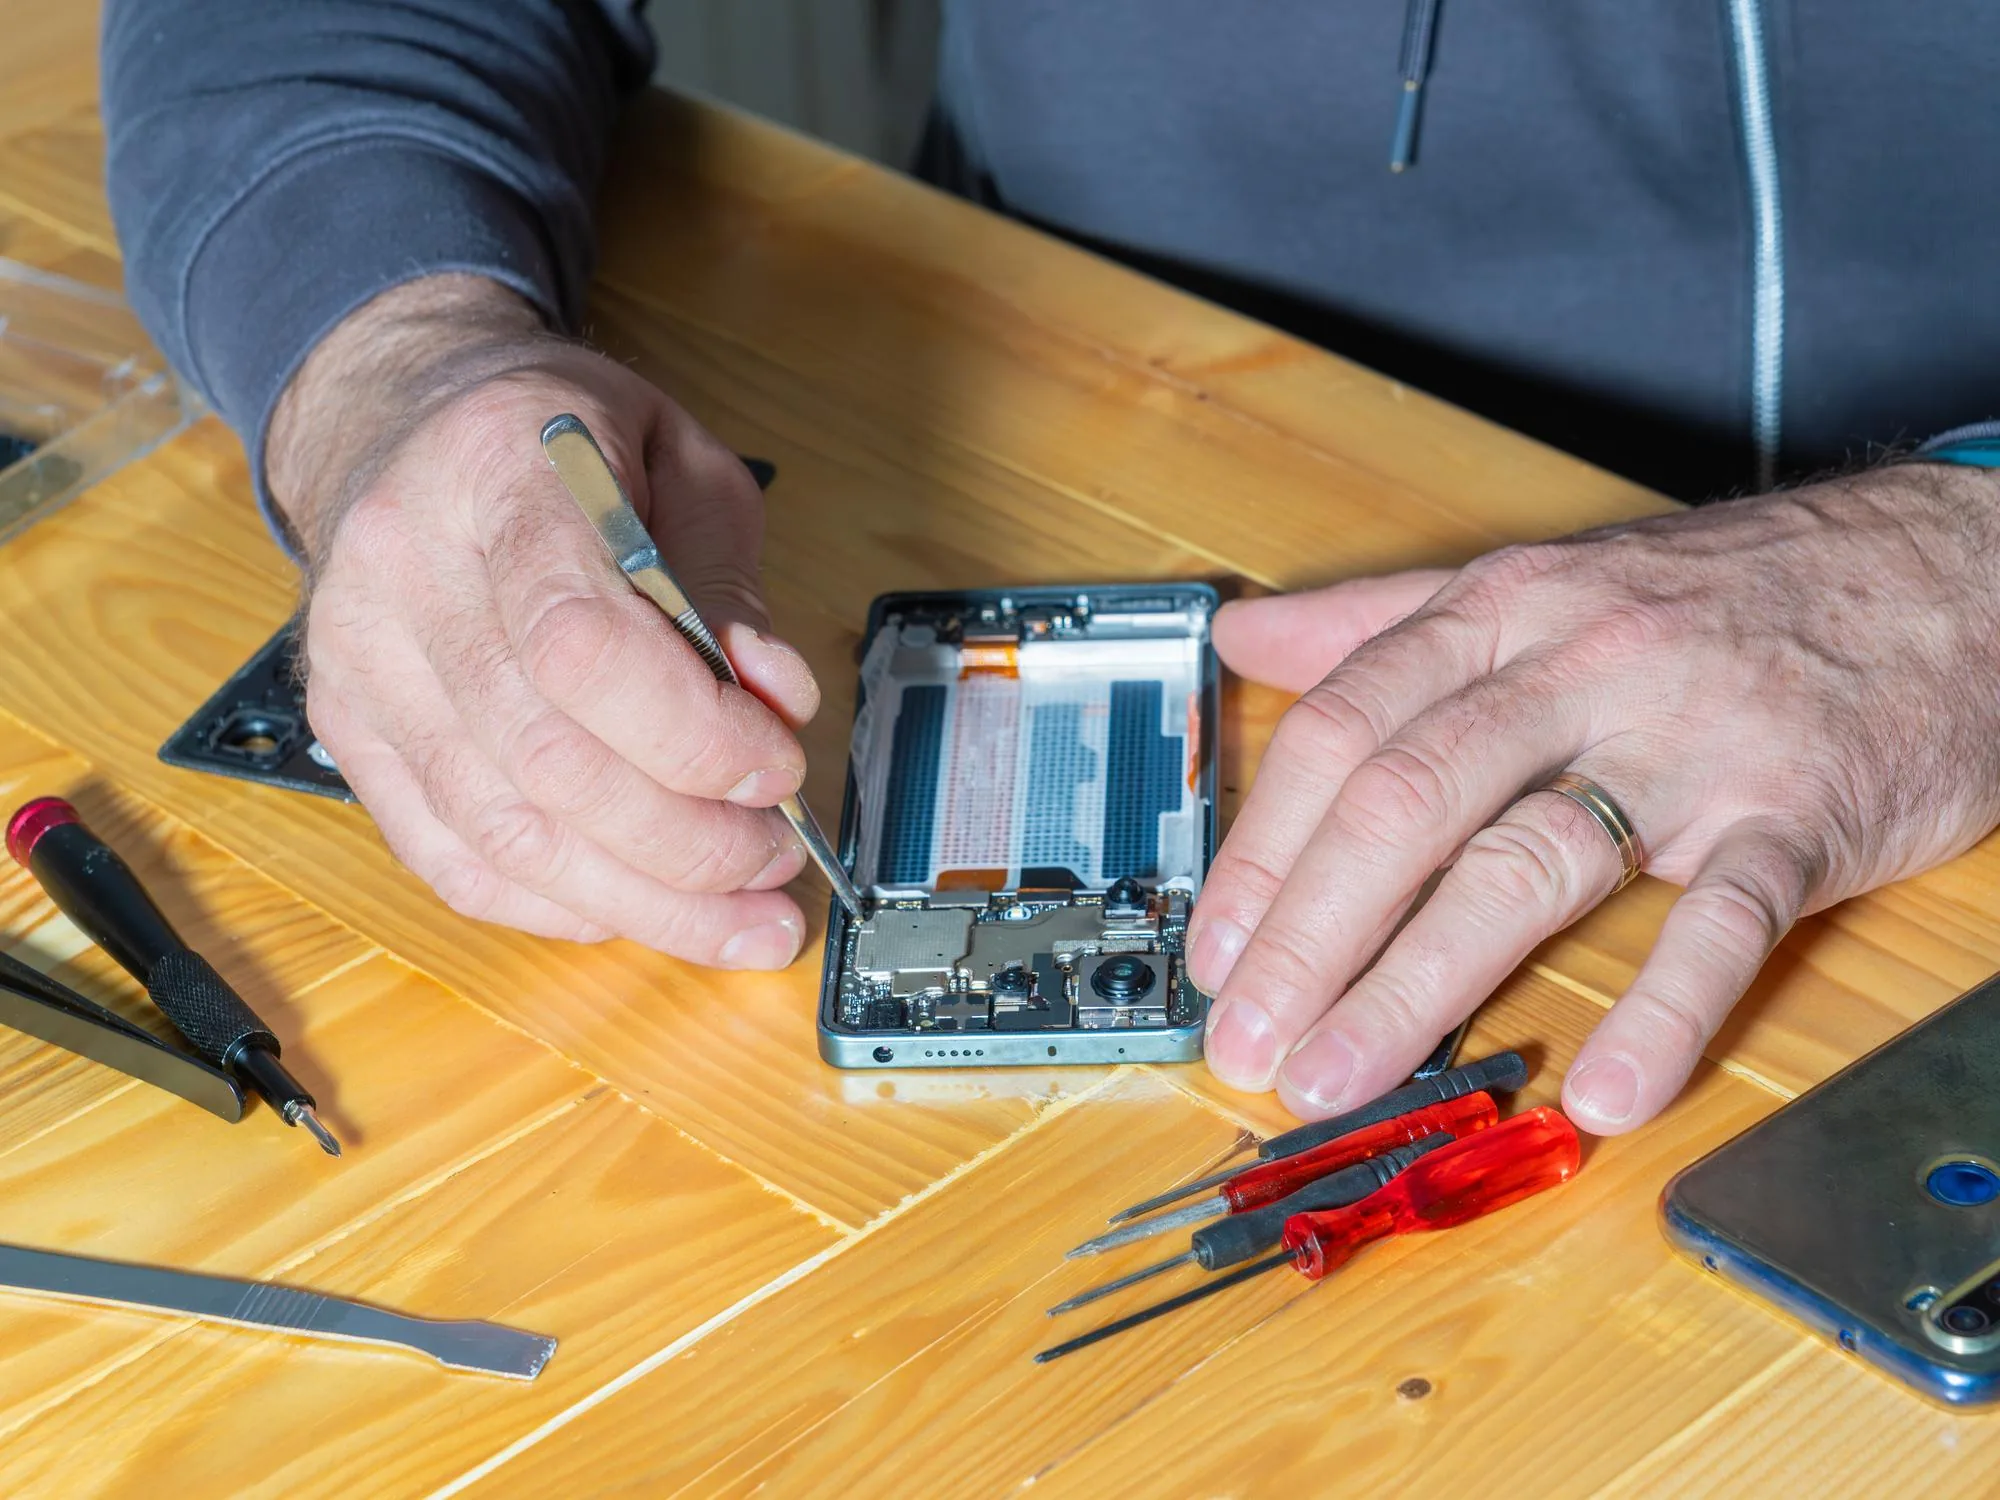
Step 6: Disconnect and transfer display connectors and components
Remove the bracket covering the display connector and disconnect the three or four display flex cables (exact number varies by model). The display can now be fully separated from the phone body. Now the critical part: transfer the earpiece speaker, ambient light sensor, and Face ID sensor module from the old display to the new one. These are secured by screws and/or clips — work carefully with tweezers and the PH00 screwdriver. The Face ID sensor flex cable in particular must not be bent sharply or stretched.
-
Step 7: Install the new display and reassemble
Connect the new display's flex cables to the motherboard and reinstall all brackets and screws in reverse order. Reconnect the battery last. Before fully seating the display, power on the phone and test: touch functionality, Face ID (go to Settings → Face ID & Passcode → Set Up Face ID), display colours, and earpiece audio. If everything works, power off, peel the adhesive strips, press the display firmly into place, and reinstall the two Pentalobe screws.
Prevention Tips
- Use a quality screen protector — tempered glass protectors absorb impact and dramatically reduce cracking risk without affecting touch sensitivity on modern iPhones.
- Use a case with raised bezels around the screen so the protector hits the case edge rather than the display during a face-down drop.
- Enable Find My iPhone before any repair; it's much harder to set up after a repair if something goes wrong with the display during the process.
- Never attempt iPhone screen repair with cracked glass that has exposed broken edges without placing protective tape over the cracks first — broken glass edges cause cuts during repair.
Frequently Asked Questions
Will replacing my iPhone screen break Face ID?
Face ID will be preserved as long as you transfer the Face ID sensor module (the TrueDepth camera array bracket) from the old display to the new one. If the sensor module is damaged during transfer, or if you use a very low-quality aftermarket screen that isn't compatible with the sensor, Face ID may stop working. Using Apple's Self Repair parts or high-quality OLED replacements with careful sensor transfer preserves Face ID fully in most cases. Never leave the Face ID sensor in the old broken display when you return it — always transfer it.
How much does a replacement iPhone screen cost?
Costs vary by model and source: Apple Self Repair OEM screens range from £149 (iPhone SE/older models) to £299+ (iPhone 14 Pro/15 Pro). Quality aftermarket OLED screens from reputable sellers: £60–120 depending on model. Budget aftermarket screens: £30–60 (these often have noticeable colour or touch quality differences). The total DIY cost including tools is typically £80–160 for a first repair, dropping to £60–130 for subsequent repairs once you have the tools.
Does replacing an iPhone screen affect the waterproofing?
Yes — the IP68 water resistance rating of iPhone models depends on the adhesive seal around the display perimeter and the seals around other openings. A DIY screen replacement using aftermarket adhesive strips restores partial water resistance but likely won't fully recreate the factory-spec IP68 seal. For casual splash protection this is generally adequate, but avoid deliberate submersion after a DIY repair. Apple and authorised service providers use specialised sealing equipment to restore full water resistance ratings.
Can I replace an iPhone screen if the glass is completely shattered?
Yes, but you need to take precautions. Cover the shattered glass with clear packing tape before starting — this prevents glass fragments from falling onto the motherboard during disassembly and protects your fingers. Work over a clean white surface so you can see any glass fragments that fall. Wear glasses or safety goggles if the screen is badly shattered. Go slowly during the prying step — shattered screens are unpredictable during adhesive separation.
Should I use Apple's Self Repair program or a third-party screen?
Apple's Self Repair program provides genuine OEM parts that fully restore all features including True Tone display calibration, Face ID, and water resistance. The cost is higher, but the outcome is identical to an Apple Store repair. High-quality third-party OLED screens (from sellers like iFixit, Mobile Defenders, or established Amazon vendors) offer 85–95% of the OEM experience at 40–60% of the price — touch quality is identical, Face ID works if you transfer the sensor, but True Tone may be slightly off and water resistance is partially compromised. For most users, a quality third-party screen is excellent value.
Related Articles & Categories
Continue learning about Smartphones in Mobile & Wearables, or explore related repairs and learning guides below.