
How to Replace a Smartphone Screen at Home
Medium
45–60 minutes
Hold the power button and slide to power off completely. Disconnect from the charger.
Use a heat gun or hair dryer on low for 30–60 seconds around the screen perimeter to soften the adhesive.
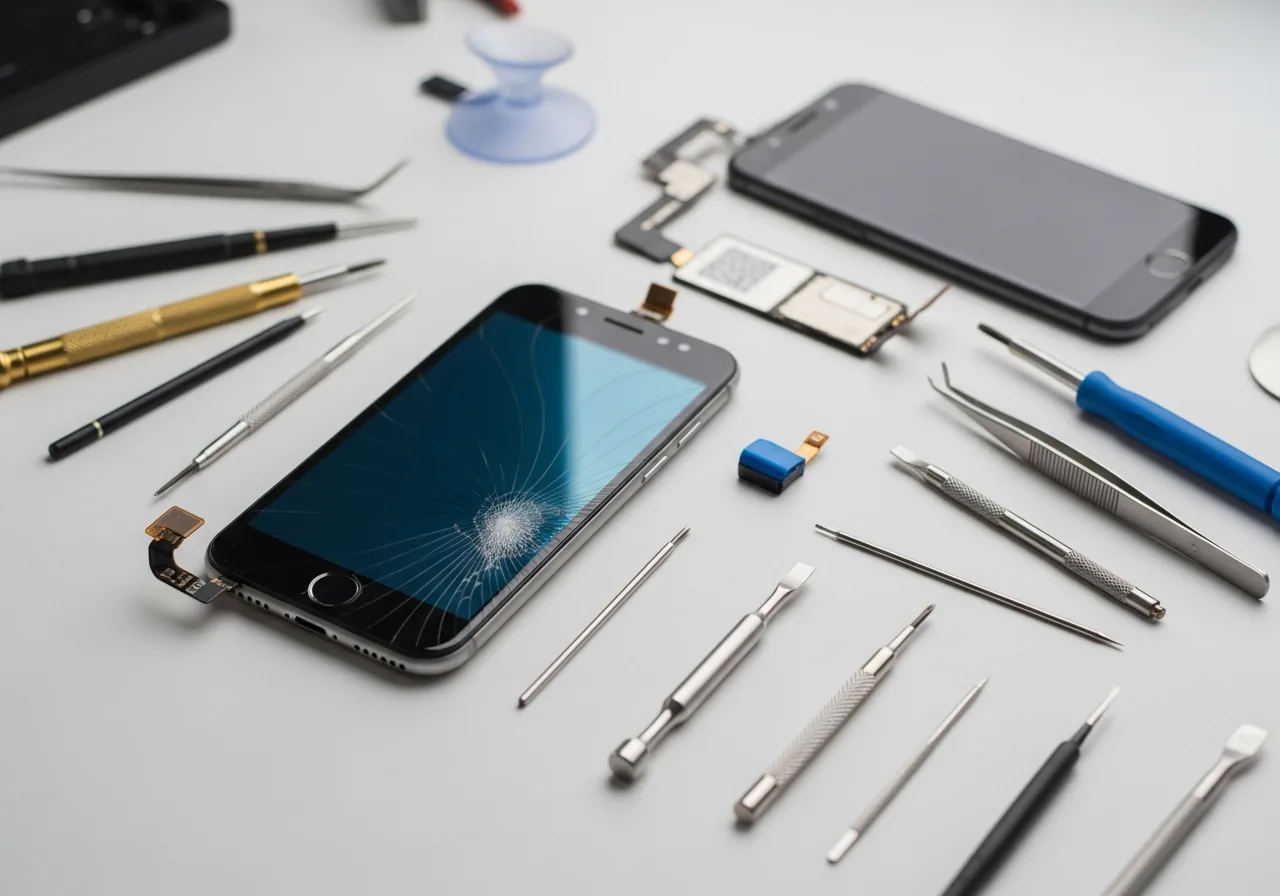
Attach the suction cup to the centre of the screen and pull upward gently to create a small gap.
Slide the spudger around all four edges to separate the adhesive. Work slowly — don't force it.

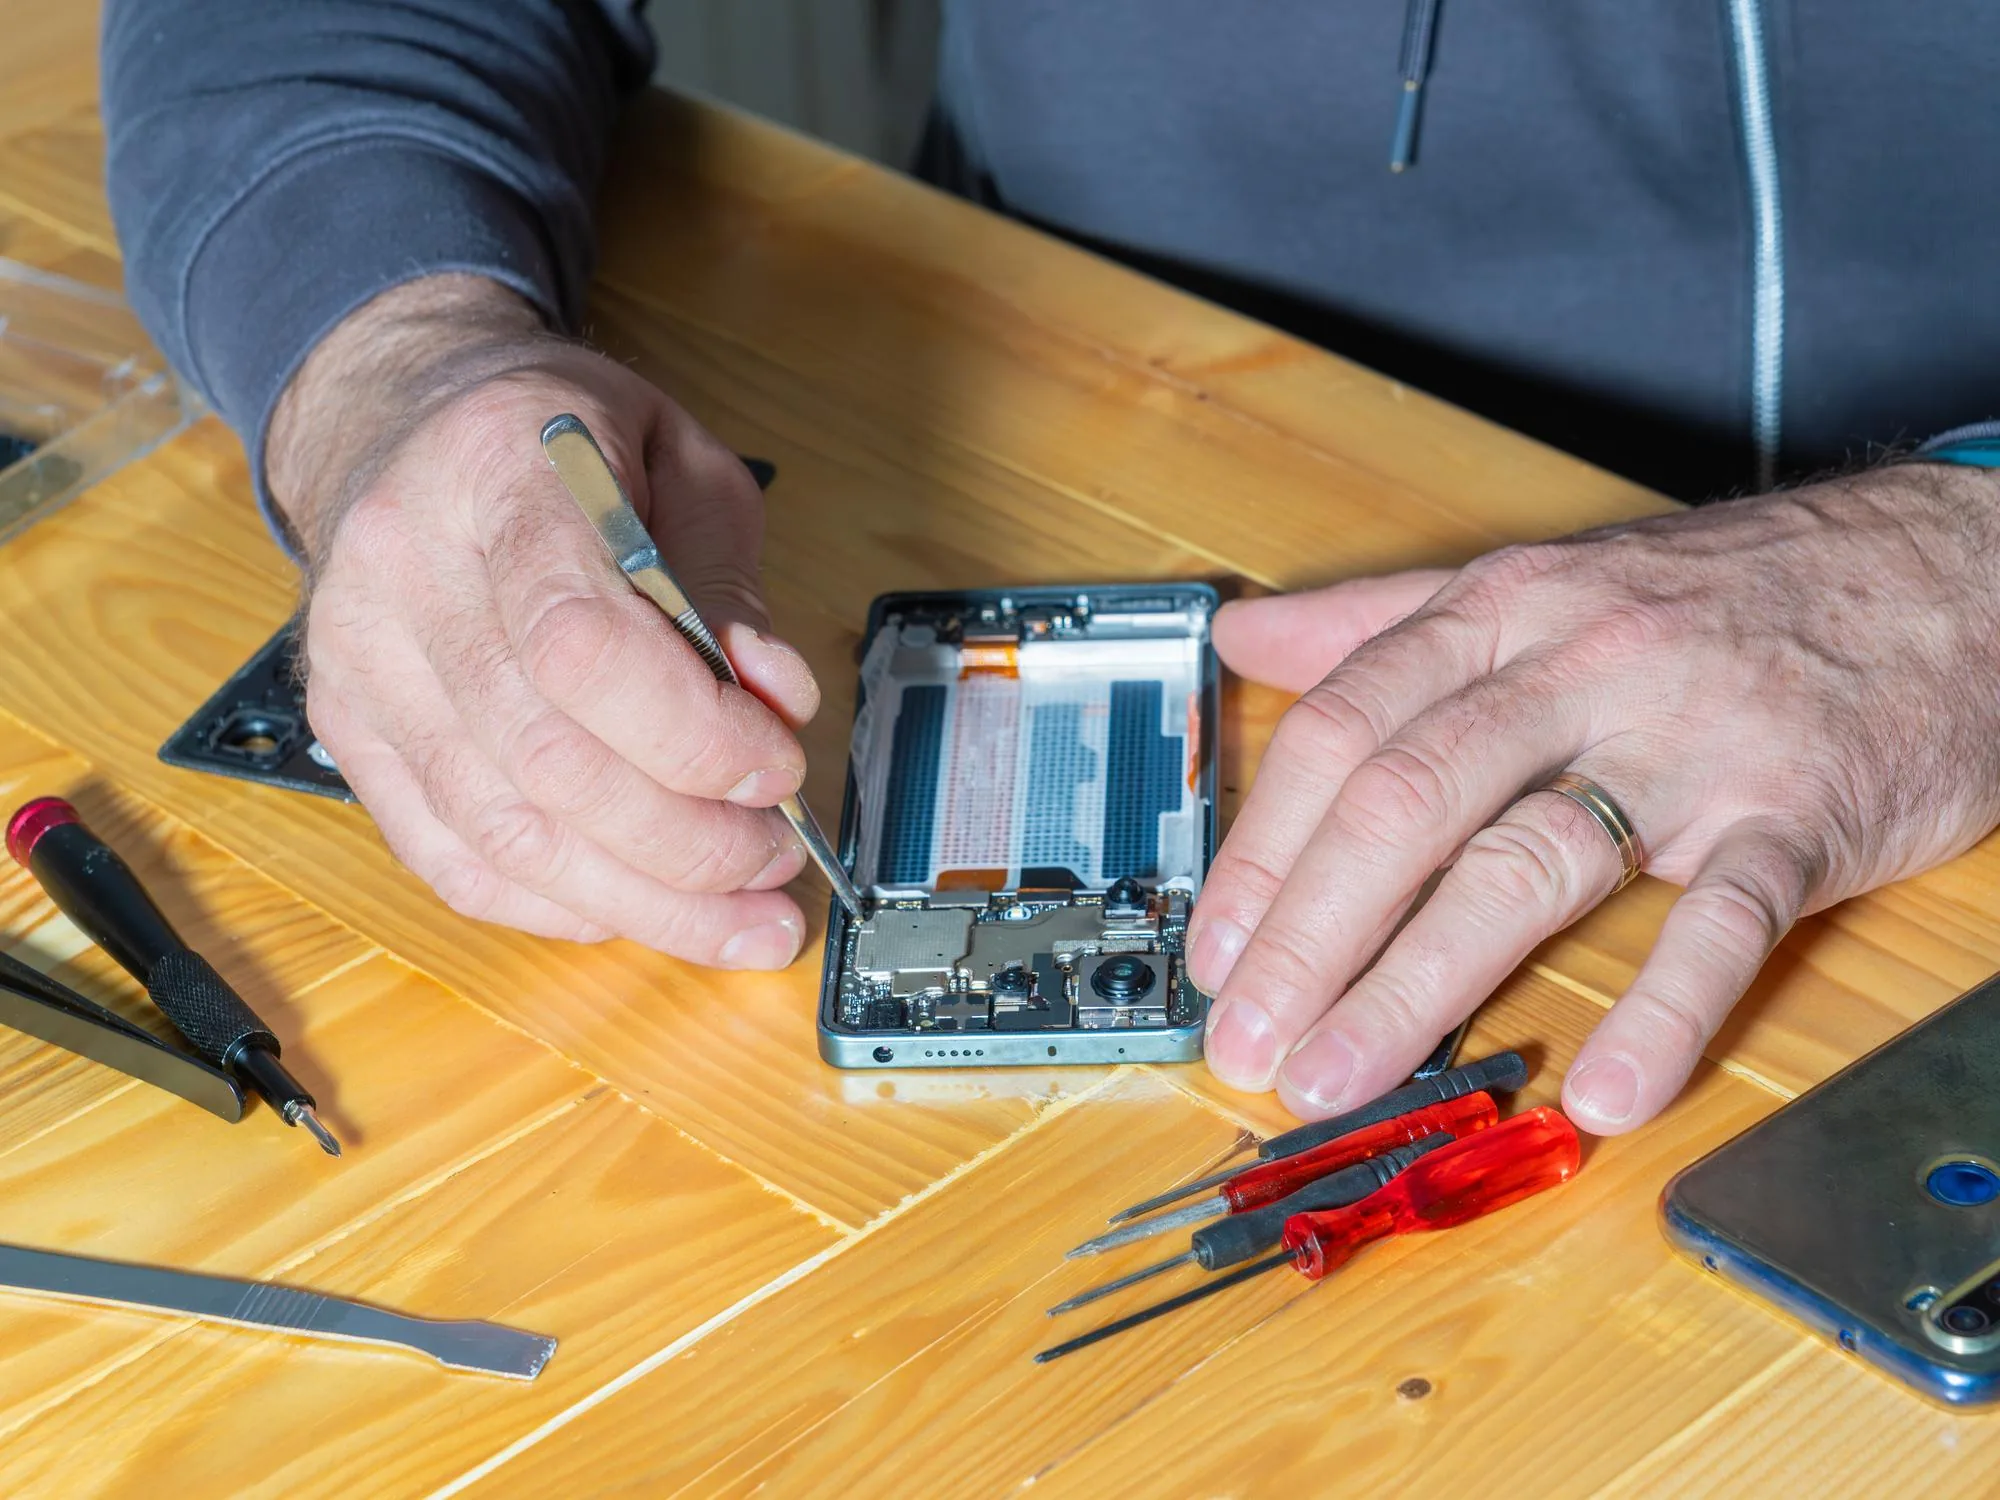
Lift the screen carefully, locate the ribbon cable connectors, and unclip them from the motherboard.
Set the old screen aside. Inspect the frame for any debris or leftover adhesive.
Connect the new screen's ribbon cables and press each connector until it clicks into place.
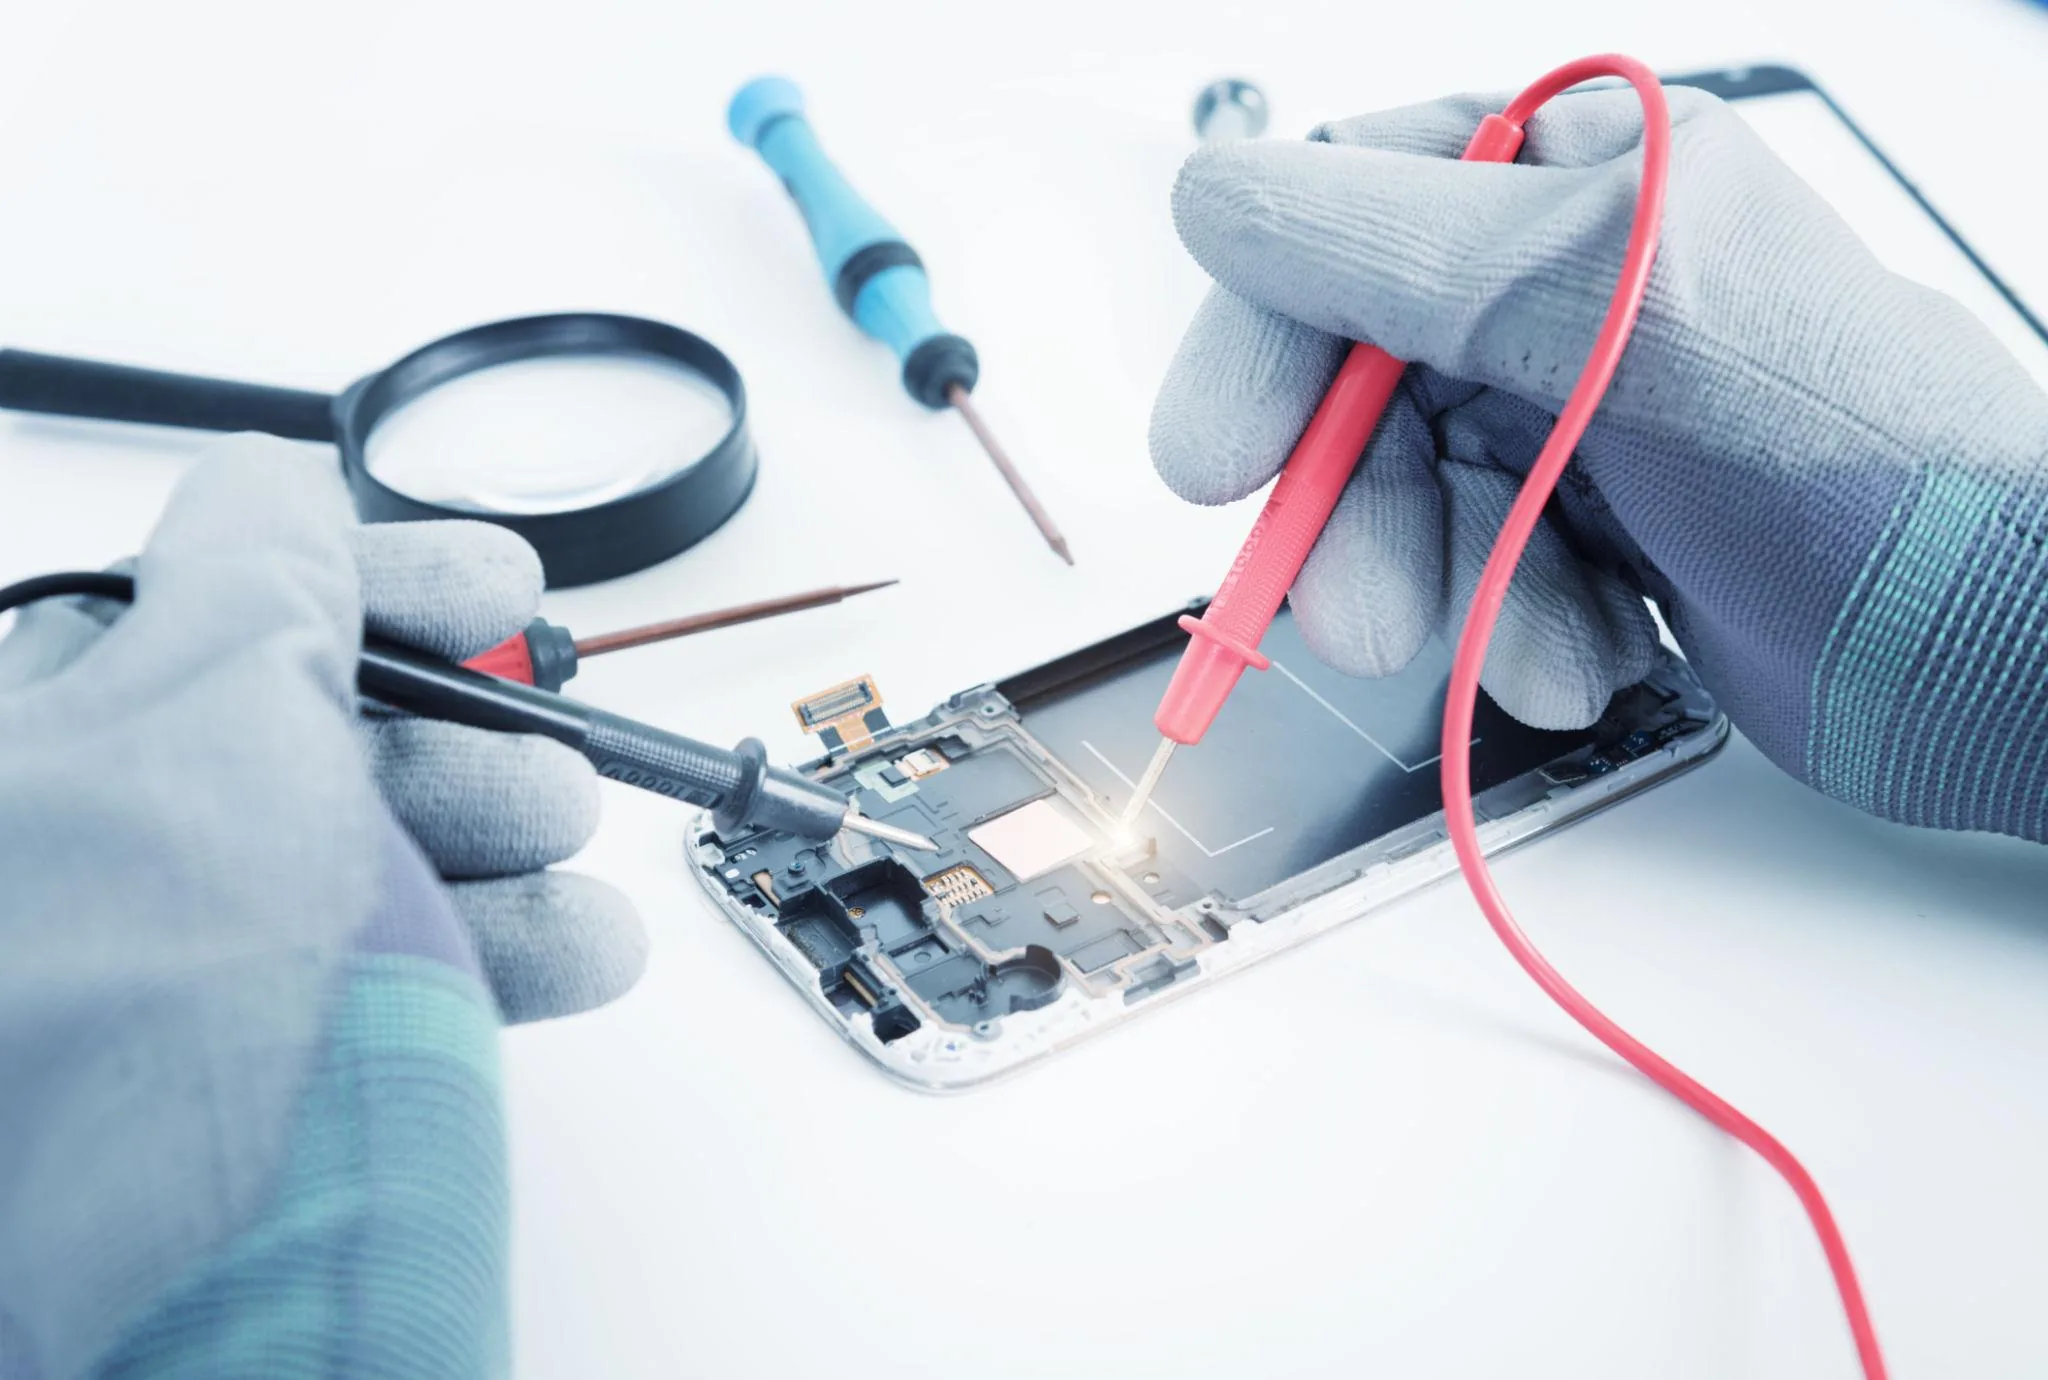
Power on and test the new screen for brightness, touch, and colour before applying adhesive.
Apply adhesive strips to the frame, align the new screen, and press firmly for 2 minutes.
Work on a clean, well-lit surface to avoid losing small screws.
Do not apply excessive heat — it can damage the OLED or LCD panel beneath.
Disconnect the battery connector before removing the screen on some models.
If you see smoke or smell burning, stop immediately and disconnect the battery.
Continue learning about Smartphones in Mobile & Wearables, or explore related repairs and learning guides below.