Replacing Your Laptop Battery: A Complete Step-by-Step Walkthrough
A laptop battery that no longer holds a charge isn't the end of the road for your machine — replacing it is one of the most cost-effective repairs you can do, and in most cases you can do it yourself in under an hour. Whether your laptop shuts down unexpectedly at 30%, barely lasts 90 minutes on a charge, or has a visibly swollen battery, this step-by-step guide walks you through the complete replacement laptop battery process from sourcing the right part to calibrating the new one correctly.
Before You Start: Safety First
Lithium-ion batteries require careful handling. If your existing battery is swollen — the bottom of your laptop is bulging outward or the keyboard feels raised — treat it as urgent and do not continue charging the laptop. Swollen batteries can rupture if punctured or if excessive pressure is applied. Work on a hard, flat surface away from flammable materials. Never use metal tools near battery terminals.
What You'll Need
- Replacement battery (compatible with your exact laptop model — see sourcing guide below)
- Phillips screwdriver (usually PH0 or PH1 for most laptops)
- Plastic pry tool or spudger (for panel removal without scratching)
- Anti-static wrist strap (optional but recommended)
- Small container for screws
Step-by-Step Solution
Estimated time: 30–60 minutes. Difficulty: easy to moderate. This guide covers the most common internal-battery laptop design — the type that requires removing the bottom panel.
-
Step 1: Find and order the correct replacement battery
Look up your laptop's exact model number (printed on the bottom sticker or in System Information). Search for "[Your model number] replacement battery" on iFixit, Amazon, or your manufacturer's own spare parts store. Match the battery by model number, not just physical appearance — many battery shapes look identical but have different connector pinouts or voltage ratings. Prefer sellers that show the cell manufacturer (Panasonic, Samsung, LG cells are reliable; no-name cells are not).
-
Step 2: Back up your data
Before opening any laptop for repair, back up your important files. While replacing a battery doesn't touch your storage drive, it's good repair practice. For Windows: use File History or copy critical folders to an external drive. For Mac: run a Time Machine backup. This takes 10–15 minutes and protects you against any unlikely accidents during the repair process.
-
Step 3: Power off and prepare the workspace
Completely power off the laptop — not sleep or hibernate, but full shutdown. Unplug the charger. Place the laptop upside down on a clean, soft surface (a folded towel works well) to protect the display. Touch an unpainted metal surface to discharge any static electricity, or put on an anti-static wrist strap if you have one.
-
Step 4: Remove the bottom panel
Using the correct screwdriver (PH0 for most thin ultrabooks, PH1 for most standard laptops), remove all bottom panel screws. Store them in a small dish — note that some panels have screws of different lengths and you'll need to remember which goes where. Once all screws are out, slide a plastic pry tool along the seam of the panel and work around the edge to release the plastic clips. Don't force it — if it won't move, you may have missed a screw (sometimes hidden under rubber feet stickers).
-

Disconnect the battery connector before any other internal work — working on a live laptop board is how you turn a $60 battery swap into a new motherboard. Step 5: Disconnect the battery connector first
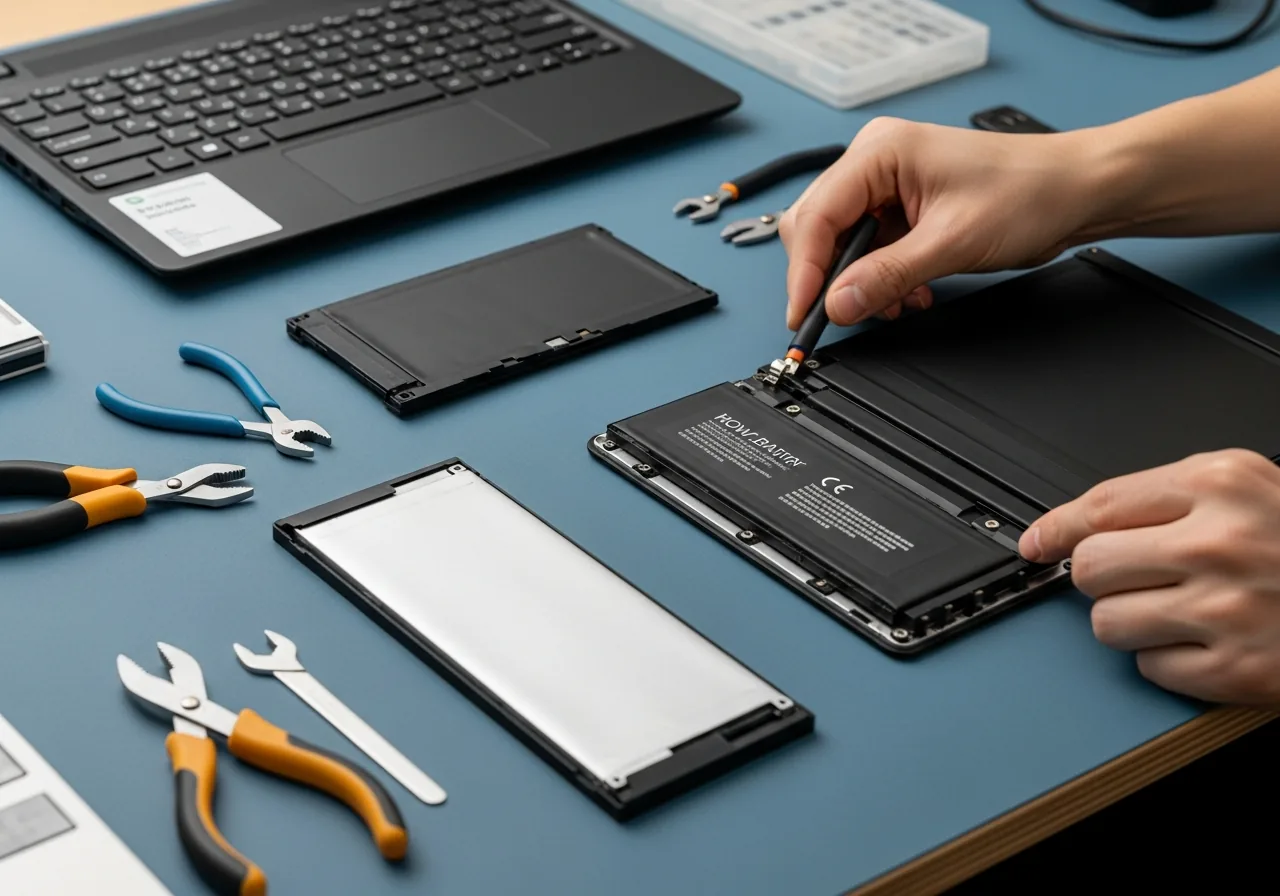
Before touching anything else, find the battery connector — a small ribbon or multi-pin connector that plugs into the motherboard. Use your plastic pry tool to carefully lever the connector straight up and out of its socket. This cuts power to the logic board and makes the repair safe. Do not skip this step even if the laptop appears off — residual charge in capacitors can cause damage to components if you accidentally short something.
-
Step 6: Remove the old battery
Most laptop batteries are held in place by two to four Phillips screws plus adhesive strips. Remove the screws first. If there are adhesive pull-tabs (like iPhone-style adhesive strips), pull them slowly at a low angle parallel to the battery surface — this releases the adhesive cleanly without leaving residue. If there are no pull-tabs and the battery is glued directly, use a plastic pry tool at the edge and work it free slowly. Never use metal tools near the battery cells.
-
Step 7: Install the new battery and reassemble
Place the new battery in position, secure it with the screws (don't overtighten — snug is enough), and connect the battery connector by pressing it firmly straight down into its socket until it clicks. Replace the bottom panel by pressing it into place starting at the corners, then replace all screws in the same positions they came from. If any rubber feet were removed to access screws, press them back into place.
-
Step 8: Calibrate the new battery
Connect the charger and charge the laptop to 100% without interruption. Then use the laptop normally on battery until it shuts down from depletion (around 3–5%). Then charge back to 100% again without interruption. This calibration cycle teaches the battery management system the new battery's actual capacity, ensuring accurate percentage readings and optimal performance from day one.

Prevention Tips
- Keep your battery between 20% and 80% for everyday use — avoiding regular full discharge and full charge cycles significantly extends battery lifespan.
- Don't leave your laptop plugged in at 100% indefinitely — many modern laptops have battery protection modes in their settings that limit charging to 80% for exactly this reason.
- Replace the battery at the first signs of significant degradation (below 80% capacity, unexpected shutdowns) rather than waiting until complete failure — an over-depleted battery is harder to remove and more hazardous to handle.
- Properly recycle the old battery — lithium batteries are hazardous waste and should never go in regular rubbish; local electronics retailers and council recycling centres accept them for free.
Frequently Asked Questions
How do I know if my laptop battery needs replacing?
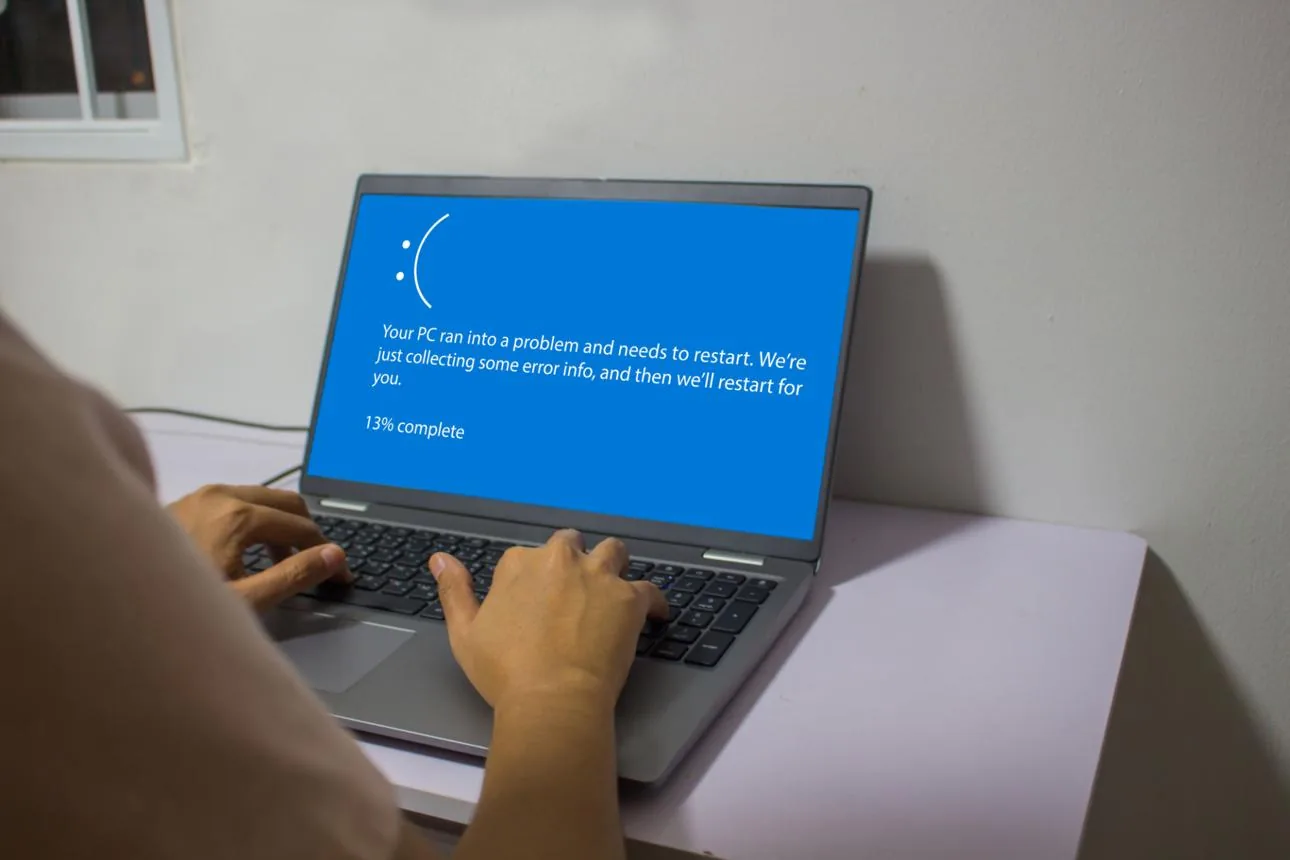
Signs your battery needs replacing: it holds charge for noticeably less time than when new, the laptop shuts down unexpectedly at 10–30% battery, the battery percentage jumps erratically, the bottom of the laptop bulges outward (swollen battery — replace immediately), or battery health reads below 80% in your system settings. Windows users can generate a battery report by opening Command Prompt and typing: powercfg /batteryreport — this creates an HTML file with full capacity data.
Can replacing a laptop battery void the warranty?
In most cases, yes — opening a laptop voids the manufacturer's warranty on the hardware you access. However, if your laptop is already out of warranty, this isn't a concern. Some manufacturers (notably Dell and Lenovo for business lines) explicitly support user-replaceable batteries and don't void warranties for battery replacement. Check your specific warranty terms. If still under warranty, contact the manufacturer first — they may replace a degraded battery for free.
Where can I buy a reliable replacement laptop battery?
Reliable sources for replacement laptop batteries: (1) Your laptop manufacturer's own spare parts store — most expensive but guaranteed compatible and quality. (2) iFixit — curates quality cells and provides compatibility guarantees with their guide system. (3) Amazon, filtering to "sold by" reputable battery specialists like Anker, NewPower99, or compatible OEM brand batteries. Avoid very cheap no-brand batteries from unknown sellers — poor-quality lithium cells are a genuine fire risk.
What if my laptop battery is glued in and won't come out?
Many modern ultrabooks (MacBooks, Dell XPS, HP Spectre) use strong adhesive to secure the battery. Never force or pry aggressively. Instead, use iFixit iOpener (a heated silicone pad you microwave) or a heat gun on low heat (around 60°C) along the battery edge for 30–60 seconds to soften the adhesive. Then use a plastic pry tool at the edge to work it free slowly. If your battery is swollen, skip heating and use minimal force — swollen batteries release gases under heat.
How long should a new laptop battery last?
A new laptop battery should last 300–500 full charge cycles before dropping to 80% capacity, depending on the battery chemistry and how you use it. With good habits (staying between 20–80%, avoiding extreme temperatures, using battery-saving settings), you can stretch this to 600+ cycles. In practical terms, most batteries last 2–4 years before needing replacement under typical use patterns. Modern laptops with battery protection modes (limiting charge to 80%) can extend this to 5+ years.
Related Articles & Categories
Continue learning about Windows Laptops in Computers & Storage, or explore related repairs and learning guides below.