
How to Fix a Loose Charging Port
Medium
20–40 minutes
Power off completely and, if possible, remove or disconnect the battery for safety.
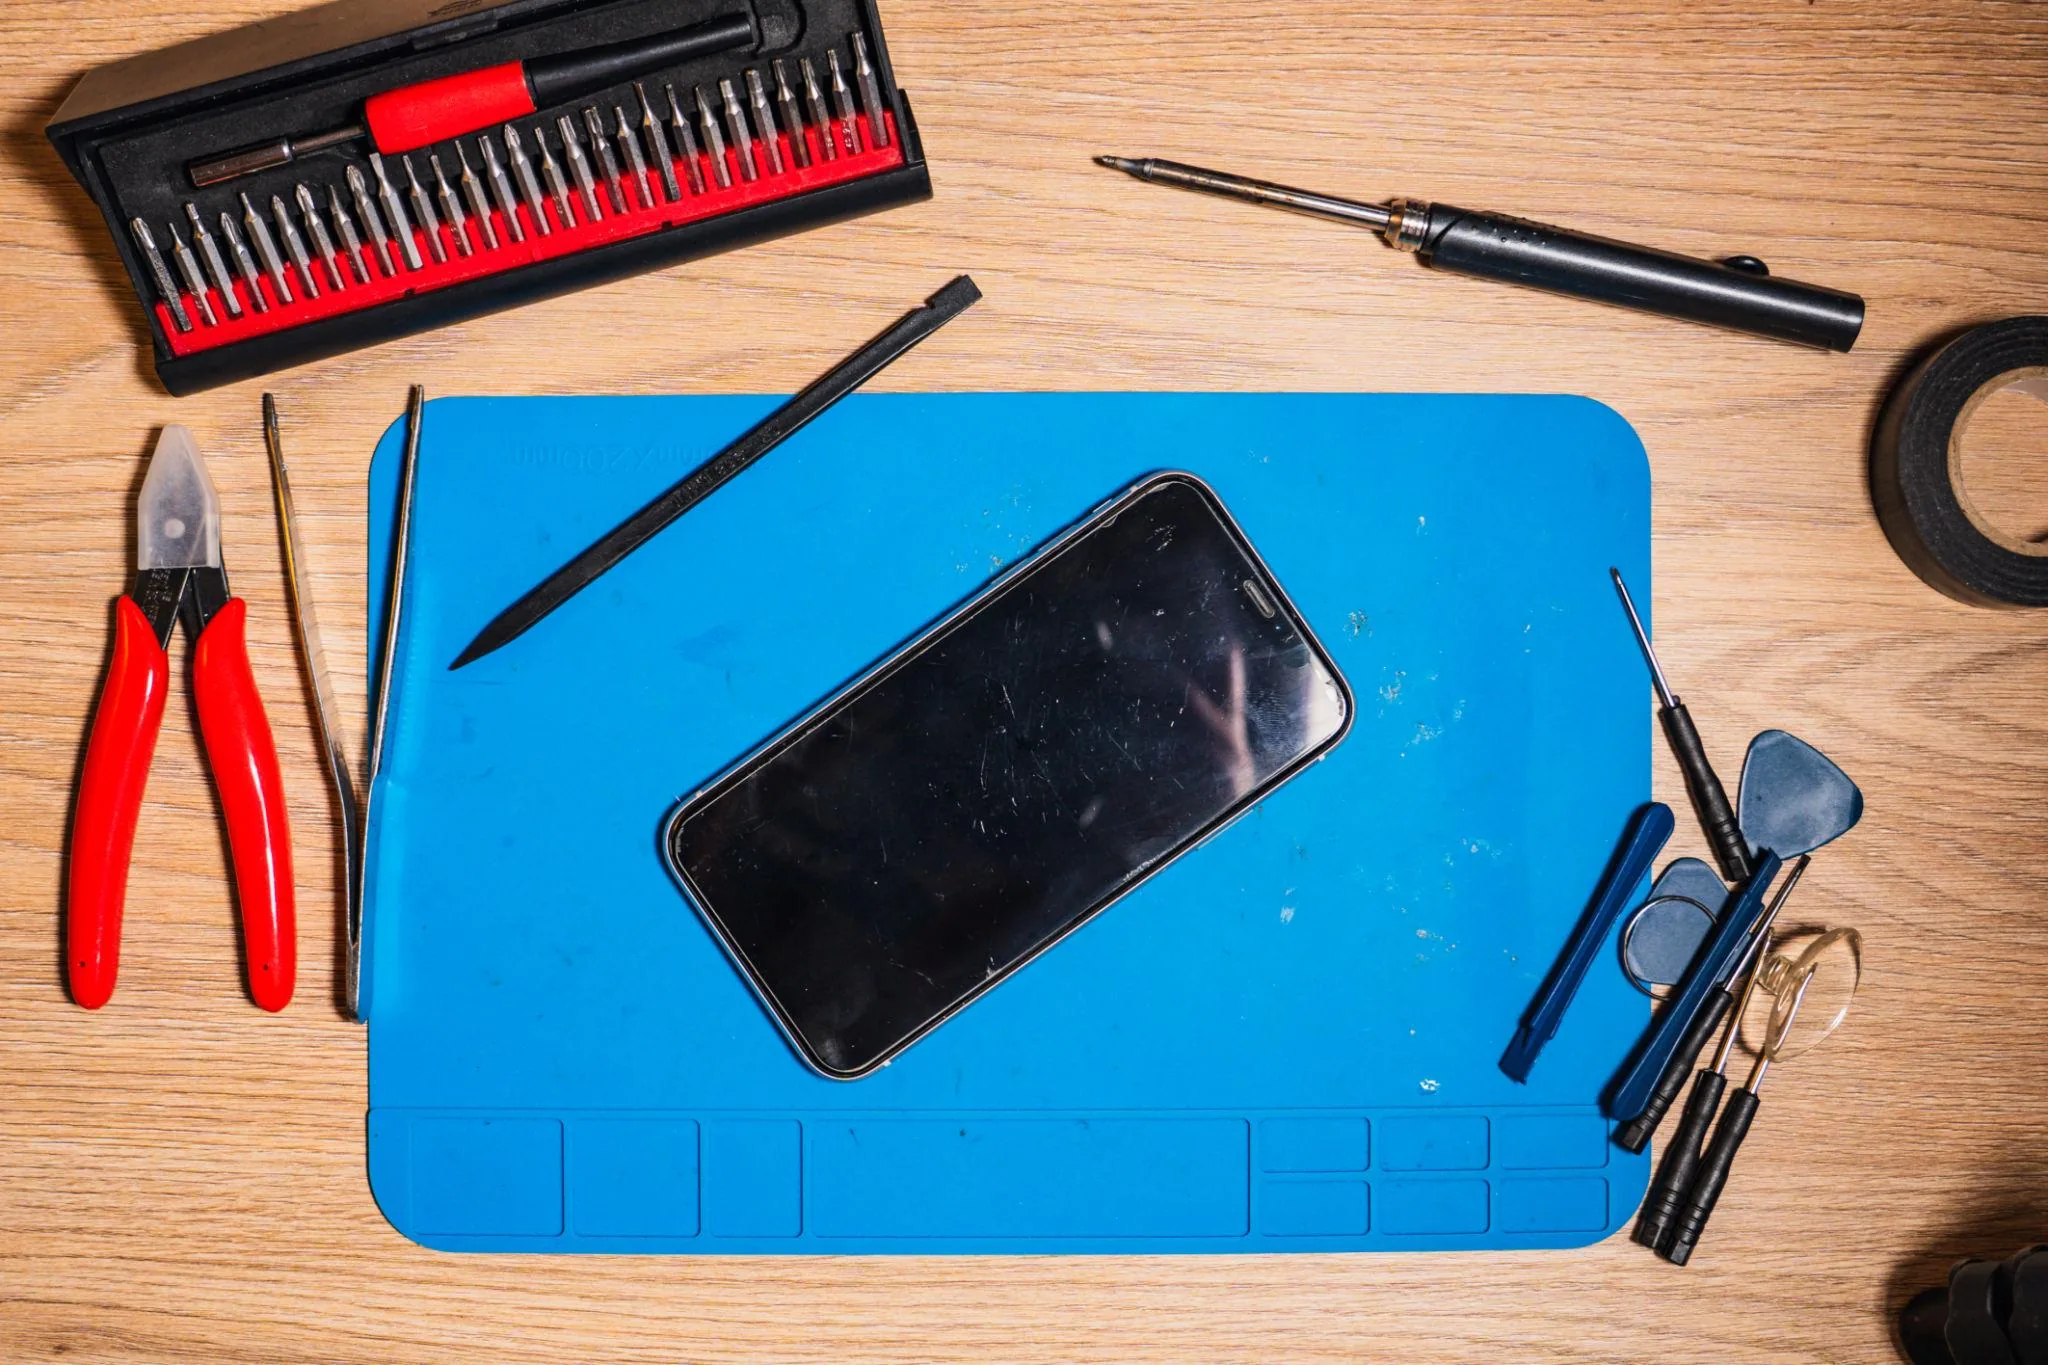
Use the appropriate screwdriver to remove all accessible screws and pry open the casing with a spudger.
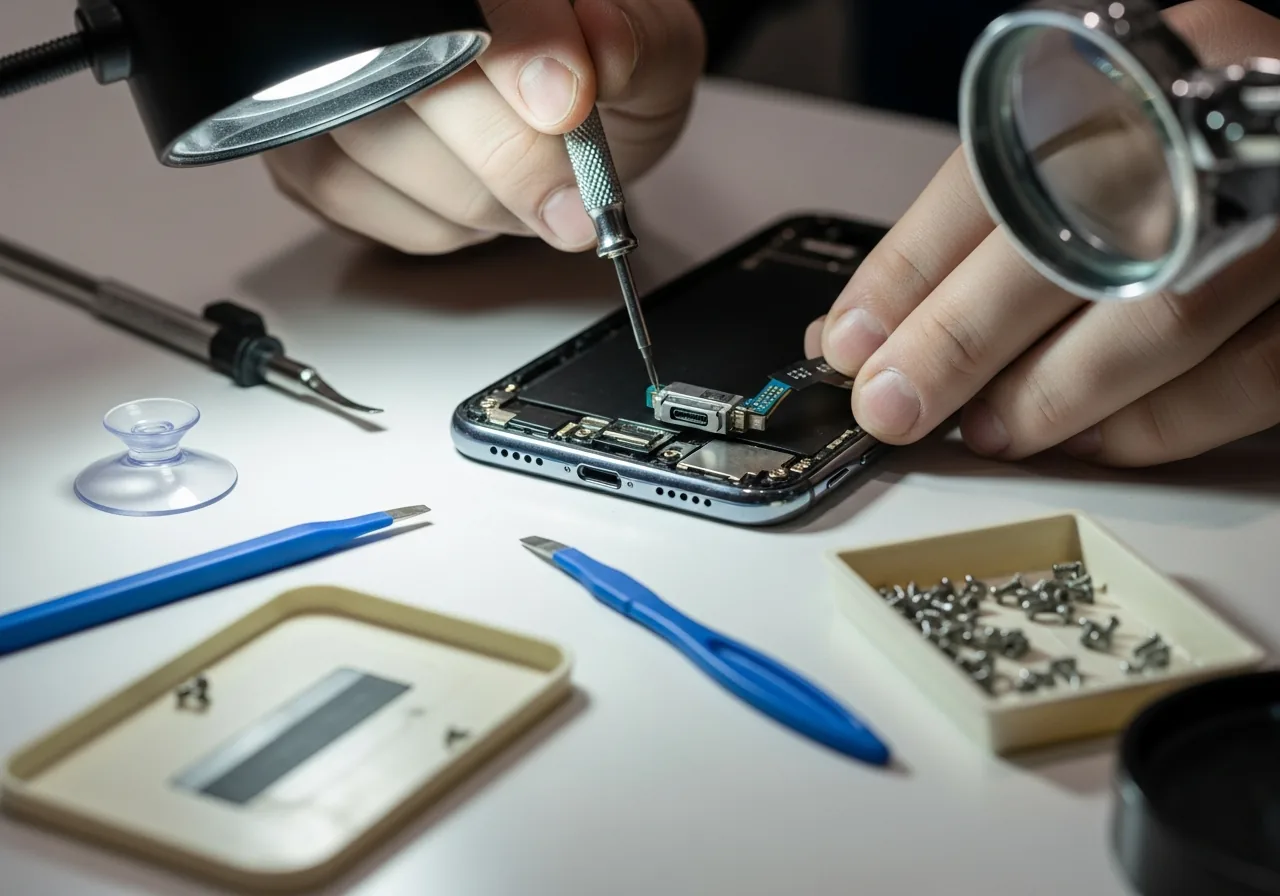
Trace the charging cable path inside the device to find the charging port PCB.
Inspect visually for bent pins, cracked solder joints, or a physically loose port housing.

Unplug the flex cable connector attaching the charging board to the motherboard.
Unscrew the port board and lift it free, or desolder if it is directly soldered to the main board.
Position the new port board, reconnect the flex cable, and secure with screws.
Reconnect any other cables you moved during access, ensuring each connector is fully seated.
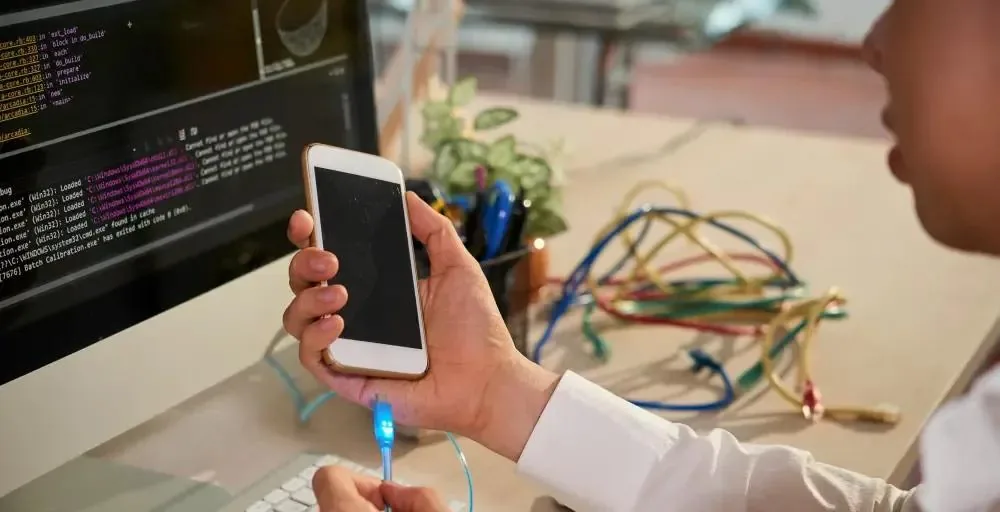
Close the device, apply a charger, and verify charging begins within 30 seconds.
Disconnect the battery before working near the charging port — it carries live voltage.
Soldered ports require soldering skill — if unsure, seek a repair professional.
Use the correct replacement part — generic ports may not fit precisely.
Continue learning about Smartphones in Mobile & Wearables, or explore related repairs and learning guides below.