How to Fix Charging Problems on Any Device
If you need to fix charging problems on any device, you've landed in the right place. Cable, adapter, port, or battery — systematically identify and fix charging failures on all device types. This guide walks you through the entire process from start to finish — what tools you need, what to watch out for, and the step-by-step procedure that gets you a reliable result the first time. Even if you've never attempted this kind of repair before, you'll find every stage broken down into plain language, with the kind of practical detail that's missing from most tutorials online.
Why This Repair Is Worth Doing Yourself
Many people assume a problem like this means the device is finished — and most of the time, that simply isn't true. Modern electronics are built from modular components, and the issue you're dealing with is almost always limited to a single subsystem rather than the device as a whole. Tackling it yourself saves you the cost of a professional repair (often a substantial markup over the price of the parts), avoids the wait at a shop, and keeps your data on your own hardware throughout the process. It also gives you a useful skill: once you've successfully completed a job like this once, you'll be far more confident the next time something goes wrong, whether on the same device or a different one. Repairing rather than replacing is also significantly better for the environment — most discarded electronics end up in landfills despite being highly recoverable.

What You'll Need
- An anti-static wrist strap to protect sensitive electronics from electrostatic discharge
- A clean, well-lit workspace with enough room to lay components flat
- A small container or magnetic mat to keep screws organised by removal order
- Patience — this kind of repair rewards careful, methodical work
Step-by-Step Procedure
Power down and disconnect everything
Before you touch anything internal, fully shut down the device — not sleep mode, a complete power-off. Unplug the power adapter, remove any external peripherals, and if the device has a removable battery, take it out. For non-removable batteries, hold the power button for 10–15 seconds after shut-down to fully discharge any residual capacitor charge. Skipping this step is the single most common cause of damaging components during a repair.
Document the starting state
Before disassembling anything, take photos with your phone showing how cables are routed, which screws came from which holes, and the orientation of any sticker or tape that holds parts in place. These reference photos save enormous amounts of time during reassembly, especially if the job stretches across multiple sessions. Manufacturers often use screws of slightly different lengths in adjacent holes — getting these mixed up can crack a motherboard or punch through a battery.

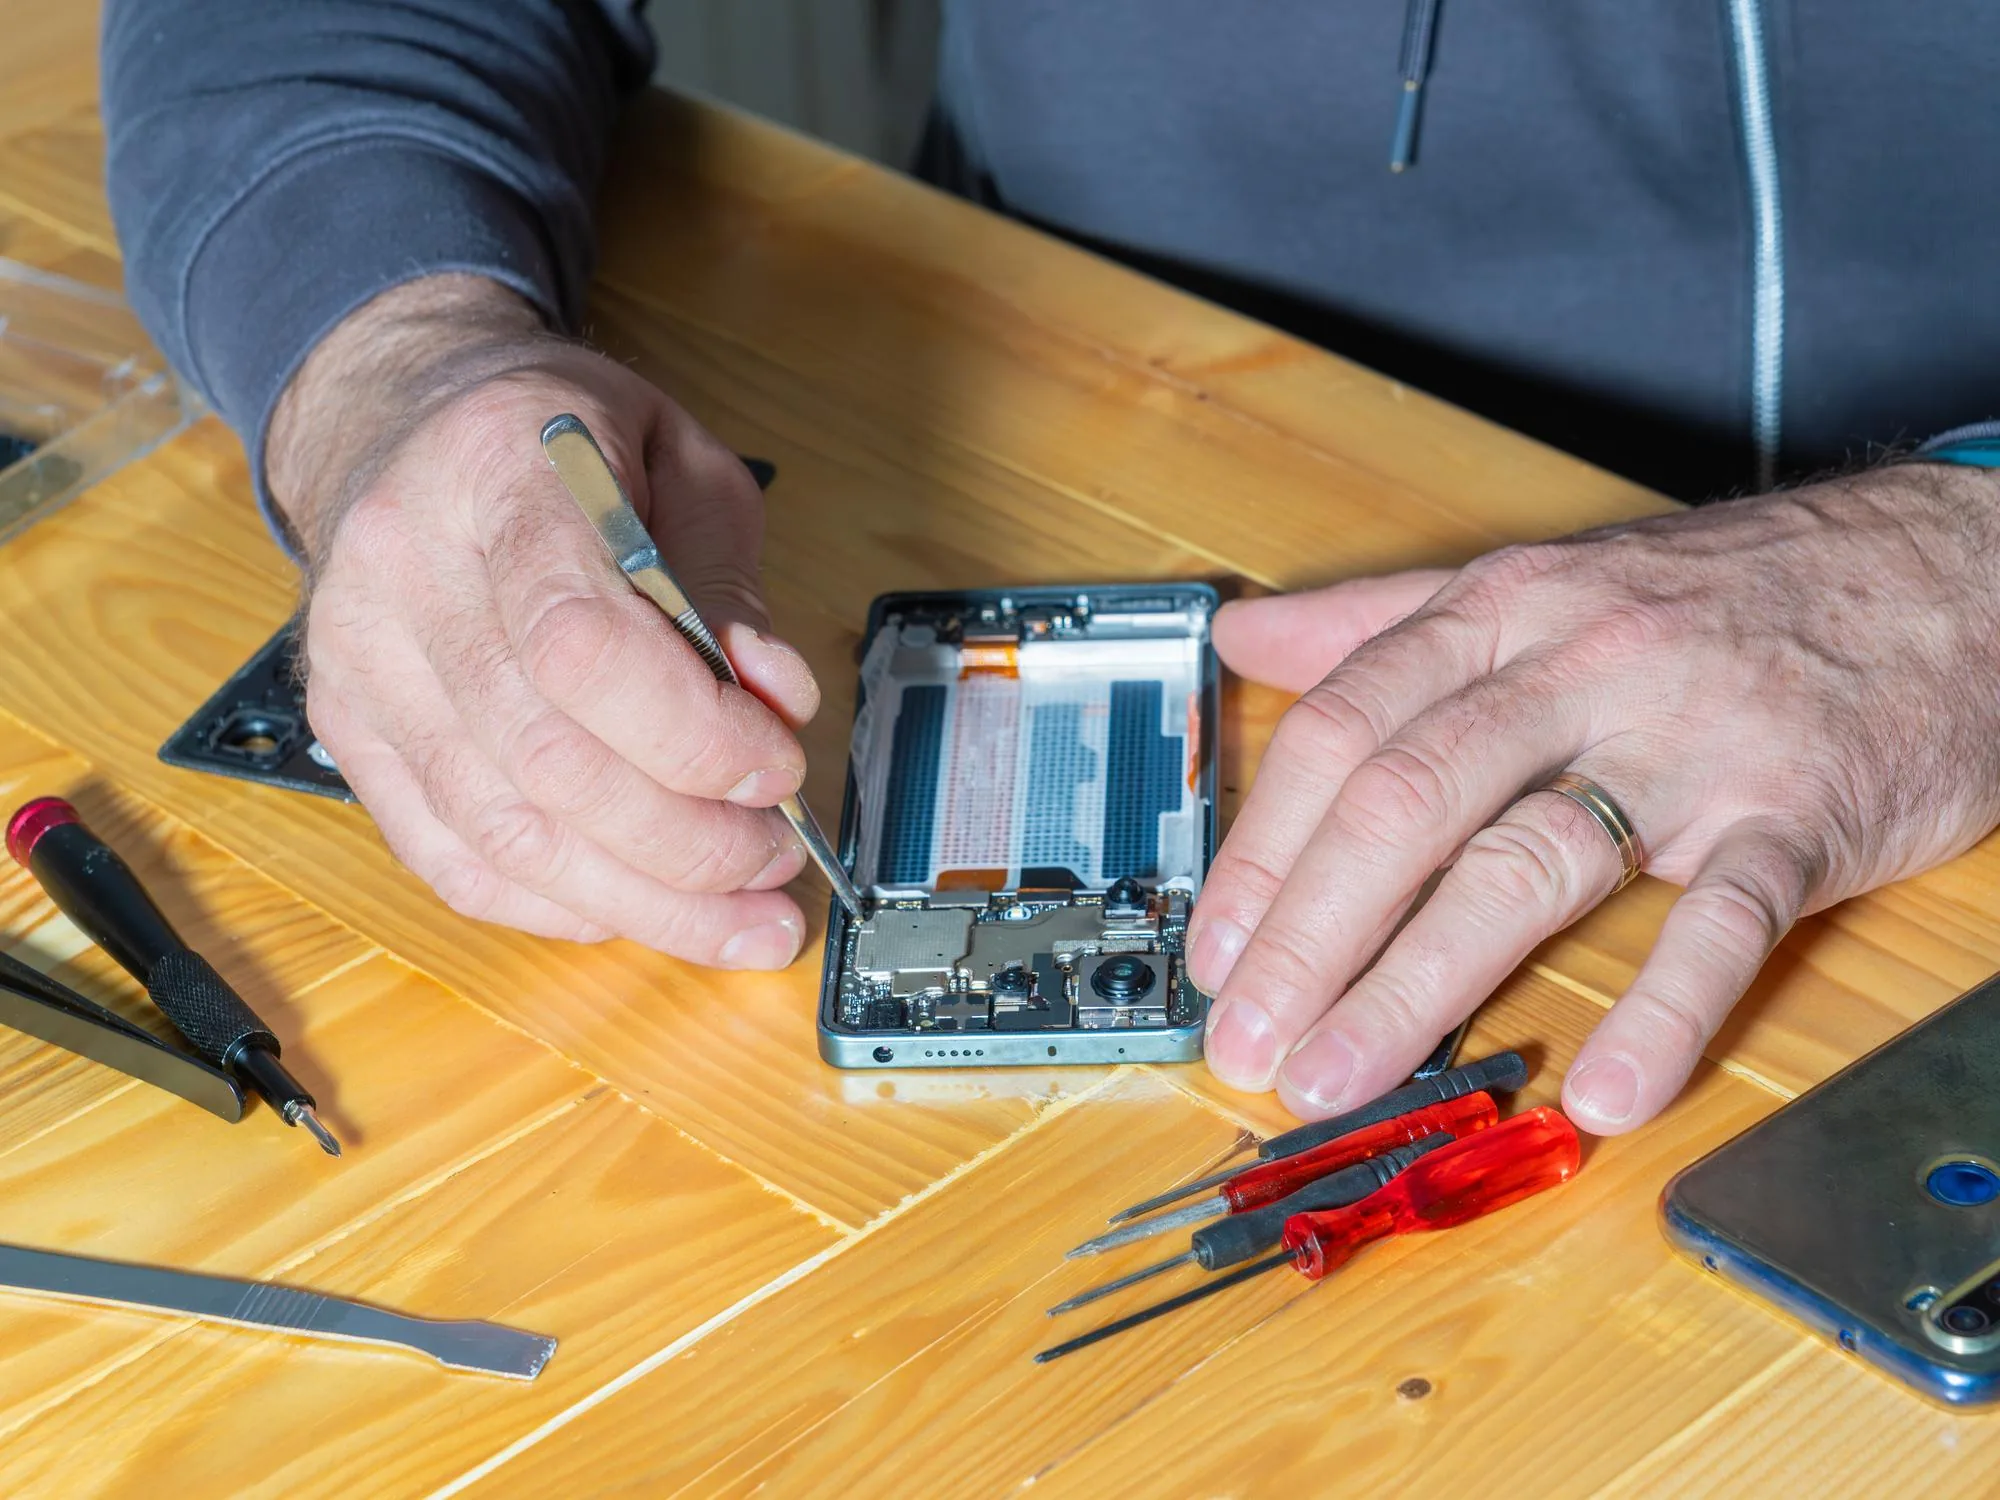
Carry out the main repair procedure
Work slowly and apply firm but gentle pressure on plastic clips. If something resists, stop — there is almost always a hidden screw, a glue strip, or a connector you haven't released yet. Forcing components apart is what turns a one-hour job into a multi-day disaster. When disconnecting ribbon cables, lift the small black flap on the connector first and only then slide the cable out; never pull on the cable itself. For glued components, gentle warmth from a hairdryer (not a heat gun) softens adhesive enough to separate parts cleanly.
Test before you fully reassemble
Once the main work is done, perform a partial reassembly with just enough connected to power on the device and verify that the issue is fixed. This avoids the frustration of buttoning everything up only to discover a loose connector or an overlooked step. If the device boots and the symptom you set out to fix is gone, power down again and complete the reassembly. If it doesn't, you've isolated the problem before adding the complexity of a full reassembly.
Reassemble in the reverse order
Use your photos as a checklist. Every screw goes back into the hole it came from. Every cable routes the way it was originally. Don't overtighten screws — most consumer electronics use small fasteners that strip easily under torque. After everything is back together, leave the device on a hard, flat surface and run it under normal conditions for at least 30 minutes to confirm stable operation under load.
Common Mistakes to Avoid
- Rushing the diagnosis. Take time to confirm the actual cause of the problem before opening anything up. Many issues that look like one thing turn out to be another, and unnecessary disassembly creates new opportunities for damage.
- Using the wrong screwdriver. A driver that's slightly too large or too small will strip the screw head. Once stripped, you've added a much harder problem on top of your original repair.
- Forgetting to discharge static. Modern components are sensitive to ESD (electrostatic discharge). A wrist strap is cheap insurance against frying a board you can't see has been damaged until it fails to boot.
- Buying the cheapest replacement part. Off-brand parts often fail within months. Buy from a reputable supplier, and check that the model number matches yours exactly.
- Skipping the test boot. Always verify the fix before putting the device fully back together. It's the difference between a 60-minute job and a 3-hour one.
When to Call a Professional
If, after working through this guide, you encounter rusted screws that won't budge, find evidence of liquid damage on the board, or smell burnt components when you open the device, stop and consider professional help. Likewise, anything involving a swollen lithium-ion battery should be taken seriously — a swollen battery can rupture if punctured and is best handled by someone with appropriate fire-safety equipment. A reputable independent repair shop will usually offer a free diagnosis and quote, so even if you decide not to DIY, you can find out what's actually wrong before deciding what to do next.
Frequently Asked Questions
How long does it take to fix charging problems on any device?
Most people complete this kind of repair in 30 minutes to 2 hours depending on the device. First-timers should plan for the upper end of that range and not rush — a calm pace produces better results than racing through.
Will this void my warranty?
If your device is still under manufacturer warranty, opening it yourself almost always voids that warranty, regardless of the reason. Check your warranty status before starting; for in-warranty devices, the manufacturer should handle the repair at no cost.
Related Articles & Categories
Continue learning about Smartphones in Mobile & Wearables, or explore related repairs and learning guides below.