How to Install an SSD in Your Laptop
Upgrading to a solid-state drive is the single most impactful hardware improvement you can make to an aging laptop. Replacing a spinning hard drive with an SSD typically cuts boot time from 60–120 seconds to under 10 seconds, makes app launches feel nearly instant, and eliminates the mechanical clicking and vibration that mechanical drives produce. This step-by-step guide walks you through identifying the right SSD type for your laptop, cloning your existing drive so you don't lose any data, physically installing the SSD, and verifying everything works correctly afterward.
Step 1: Identify Your SSD Type
Before buying anything, confirm which type of SSD your laptop accepts. Open your laptop's bottom panel and look at the existing drive, or check your model's specifications on the manufacturer's support page.
- 2.5" Sata (Serial ATA) SSD: Used in older laptops (pre-2018) and budget models. The drive is the size of a small wallet. Upgrade is straightforward — direct replacement. Speed: ~550 MB/s sequential read.
- M.2 Sata drive (2280): A gumstick-sized card inserted into an M.2 slot. Still uses the Sata protocol — same speed ceiling as 2.5-inch drive but smaller form factor.
- M.2 NVMe (2280): Same physical M.2 card but uses the PCIe NVMe protocol — dramatically faster, 1,500–7,000 MB/s sequential read depending on generation. Required for most laptops from 2019 onwards. Verify your M.2 slot supports NVMe before buying an NVMe drive.
- M.2 2230: Shorter than standard 2280 — used in some Microsoft Surface, Dell XPS, and Lenovo ThinkPad models. Physically incompatible with 2280 slots (too long to fit). Always check your exact model before ordering.

Recommended SSDs by Type
- 2.5-inch drive: Samsung 870 EVO, Crucial MX500
- M.2 drive: Samsung 860 EVO M.2, WD Blue M.2
- M.2 NVMe (PCIe 3): Samsung 980, WD Black SN770
- M.2 NVMe (PCIe 4): Samsung 990 Pro, WD Black SN850X
- M.2 2230: WD SN740 2230, Sabrent Rocket 2230
Step-by-Step Solution
Tools needed: screwdriver (PH0 or PH1), USB-to-Sata or USB-to-M.2 adapter enclosure, USB drive (8 GB+). Time: 1–2 hours. Difficulty: moderate.
-
Step 1: Back up your data
Before anything else, back up your important files externally. This isn't just precautionary — it's essential. Even if you're cloning the drive (next step), cloning occasionally fails, and you want a safety net. Use Windows Backup (Settings → Update & Security → Backup) to an external drive, or simply copy critical folders (Documents, Desktop, Downloads, Pictures) to an external drive manually.
-
Step 2: Clone your existing drive
Place the new SSD into a USB enclosure (search "USB to M.2 enclosure" or "USB to Sata enclosure" — they cost £10–20). Connect it to your laptop. Download Macrium Reflect Free (Windows) or Carbon Copy Cloner (Mac). Follow the cloning wizard: select your source disk (current internal drive) and destination disk (new SSD in the USB enclosure). The clone copies everything — OS, apps, and files — to the new SSD. Time varies by data volume: typically 30–90 minutes.
-
Step 3: Power off and open the laptop
After cloning completes, fully shut down the laptop and unplug the charger. Remove the bottom panel screws (use the correct screwdriver to avoid rounding screw heads — check iFixit for your model's screw types). Remove the panel using a plastic pry tool if needed. Locate the existing drive — it will either be a 2.5" drive held by a bracket, or an M.2 card inserted diagonally into a slot.
-

Cloning is faster, but a fresh Windows install on the new SSD removes years of registry bloat and driver conflicts in one go. Step 4: Remove the old drive
For 2.5" drives: disconnect the drive connector, remove the mounting screws, and slide the drive out. For M.2 drives: remove the single retaining screw at the far end of the card, then lift the card upward at a 30-degree angle and pull it straight out of the slot. Note the angle — M.2 cards insert and remove at an angle, not straight. Transfer any mounting bracket or retaining clip from the old drive to the new one if required.
-
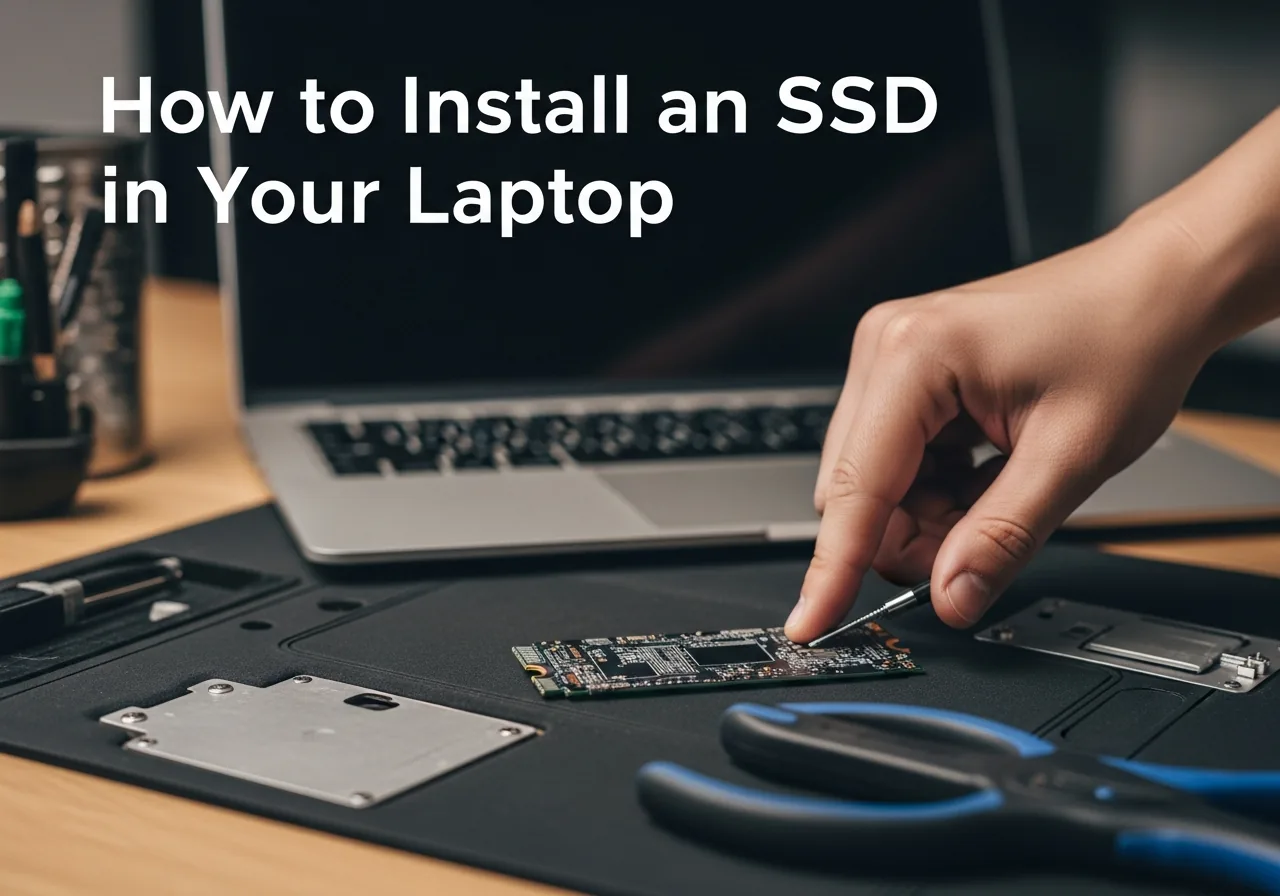
Step 5: Install the new SSD
For M.2: insert the new card at a 30-degree angle into the M.2 slot (the gold contacts go into the slot — there's a notch that ensures correct orientation), press it down flat, and secure the retaining screw. For 2.5": connect drive cable to the new drive, place it in the drive bay, and secure the mounting screws. Don't overtighten any screws — snug is enough for laptop screws.
-
Step 6: Reassemble and boot
Replace the bottom panel, reinstall all panel screws, and power on the laptop. It should boot directly into Windows or macOS from the new SSD using the cloned data — no reinstallation needed. Verify by checking that all your files and applications are present. Your first boot may be slightly slower than subsequent ones as Windows completes initial hardware detection.
-
Step 7: Verify and optimise
Open CrystalDiskMark (Windows, free) or Disk Speedtest (Mac App Store) and run a benchmark. Sequential read speeds should be 450–550 MB/s for Sata drives, or 1,500–7,000 MB/s for NVMe SSDs. Enable TRIM: open Command Prompt as Administrator and run
fsutil behavior set DisableDeleteNotify 0. For Windows: verify that Windows Defender isn't scheduling full scans immediately after the upgrade (it often does), which temporarily slows down the new drive's first few hours of use.

Prevention Tips
- Keep 15–20% of your SSD storage free at all times — SSDs perform significantly worse when nearly full due to how garbage collection and wear levelling algorithms work.
- Enable TRIM in Windows to ensure the OS communicates deleted file locations to the SSD for optimal performance maintenance.
- Don't defragment an SSD — defragmentation is for mechanical drives only, and running it on an SSD wastes write cycles and provides no benefit.
- Keep SSD firmware updated — manufacturers release firmware updates that improve performance, fix bugs, and address rare data integrity issues; most SSDs have a companion utility for this.
Frequently Asked Questions
What's the difference between the drive interface and NVMe SSDs?
Both are SSDs — the key difference is interface speed. these drives connect via the Sata interface and max out at around 550 MB/s sequential read speed. NVMe SSDs connect via the PCIe interface and achieve 1,500–7,000 MB/s depending on the generation (PCIe 3, 4, or 5). For most everyday laptop use — boot time, office apps, browser — both feel very similar. NVMe's speed advantage becomes apparent during large file transfers, video editing, and software compilation. If your laptop supports NVMe, it's worth the small price premium.
Do I need to reinstall Windows when upgrading to an SSD?
No — if you clone your existing drive to the new SSD using Macrium Reflect or similar software, Windows (and all your apps and files) transfers over exactly as-is. No reinstallation needed. Cloning is easier and faster than a clean install for most users. However, if your existing Windows installation has accumulated years of problems, a clean Windows install on the new SSD (using a Windows 10/11 USB install drive) gives you a fresh, faster start and is worth considering if your system has performance issues beyond just the drive speed.
My laptop doesn't have an M.2 slot — can I still upgrade to an SSD?
Yes, if your laptop has a 2.5" hard drive bay (most laptops from before 2016), you can replace it with a 2.5-inch drive like the Samsung 870 EVO or Crucial MX500. These are the same physical size as a standard laptop hard drive. The performance improvement over a mechanical hard drive is enormous (10× faster) even though drive interface are slower than NVMe. If your laptop has neither an M.2 slot nor a 2.5" bay (some ultra-thin models), the storage may be soldered and non-upgradeable.
How do I know if my M.2 slot supports the drive interface or NVMe?
The quickest way: look up your exact laptop model on the manufacturer's support page or on crucial.com's compatibility checker. Alternatively, use CrystalDiskInfo (free Windows app) to see your current drive's interface type — if it shows "NVMe," your slot already has an NVMe drive and supports NVMe. If it shows "the drive connector," your slot may support the drive connector only. Most M.2 slots manufactured after 2018 support NVMe; most before 2016 support the drive connector only. Some support both — the new drive's interface is selected automatically.
What should I do with my old hard drive after the upgrade?
Put it in the USB enclosure you used for cloning — it becomes a portable external drive. This repurposes a drive you've already paid for and gives you backup storage. Alternatively, use it as a secondary internal drive in a desktop PC if the case has a 3.5" bay. Never just throw away a hard drive without data-wiping it first — use DBAN (for mechanical drives) or the "Reset this PC" with "Remove everything" option in Windows to securely erase your data before disposal.
Related Articles & Categories
Continue learning about Windows Laptops in Computers & Storage, or explore related repairs and learning guides below.